|
Now your are ready to install your foam core on your mold. First let me touch on some points you will need to consider that I should have touched on in the "looking for plans "in the beginning of the blog. I am sure most here have already given it thought and made a decision by now. Sandwich Core or Single Skin ?
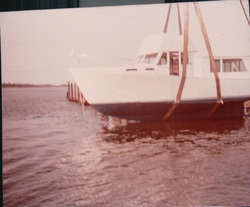 A ONE-OFF ROBERTS POWER BOAT BEING LAUNCHED. A ONE-OFF ROBERTS POWER BOAT BEING LAUNCHED.
My though on this is with the sandwich construction rather than the single skin, since you still have to install some type of foam on your mold to lay up your glass on the single skin, only difference is the foam that you use in a single skin construction is a lot less expensive than the core you use in the sandwich hull,but the difference in labor is about the same. For me the decision was easy, I would rather be laying glass on the inside of the boat than chiseling out cheap foam with a spud bar and cleaning up the single skin glass and making long hat sections to glass inside of the boat to make it stiff , so later on you can spend time notching around those jokers when your installing your cabin sole and furniture. I went with the 3/4 " Airex Foam . The stuff is not cheap, last time I checked it was 110.00 bucks for a 3'x6' sheet of 3/4". It is excellent to build your hull out of but I would not recommend it for your deck construction . An other excellent foam is Core-cell , had this product been available I would have used it for my deck.
|
It is also expensive,but the alternative is rot in your boat :) Before you start with the foam you need to get some cheap foam to form the end of your keel and if you have a skeg like I have on my boat,so you can get the mold out and have something to form the shape of the skeg. See photo #2.When I made the foam for the end of the keel and the skeg , I made them over sized so when I later butt them up to the airex foam , I will be able to shape the green foam to fair into the airex sheets. After the hull is turned over the foam is taken out. Before the foam goes on , the whole mold has to be covered in visqueen and stapled to the mold so that the resin that drips through the cracks does not stick to the mold which would make taking the mold out hardto do. See Photo #3 You can see that half the mold has been covered.Cover the whole boat this way. So now we go on to foam installation.
So lets start with attaching the foam on the boat,not hard at all,the Airex conforms to the hull's curve's easily with not having to heat up the foam,at lease that was my experience on my boat. Some people I have read attach it with screws from the inside through the rib bands.I did not think that was a good idea,because that worried me about drilling random holes were you needed to pull your foam down might randomly weaken the rib and and distort my fairing job. Since I was by my self, I used C-clamps to hold the sheet in place until I could get it fastened in a few place's. I used 80lb test nylon line to fasten my foam on. I took one of those peg board do-ma-jiggers, you know the one's you can hang a bag with a hole in it on it. On the end of it I cut a v notch in it with a three corner file,so that the nylon line would not slip off the end of it when I shoved it through the foam. First I took an ice pick and punched two hole's next to both side's of the rib band. I would then take a piece of the nylon line, drape it over the v slot and shove it through the Airex on both side's which would make a vertical stitch. Then I would go inside the mold and tie a knot that would tighten up and cinch the foam down on the rib band. I don't remember what knot I used but you could pull on it so hard that some time the nylon line would cut its own self. 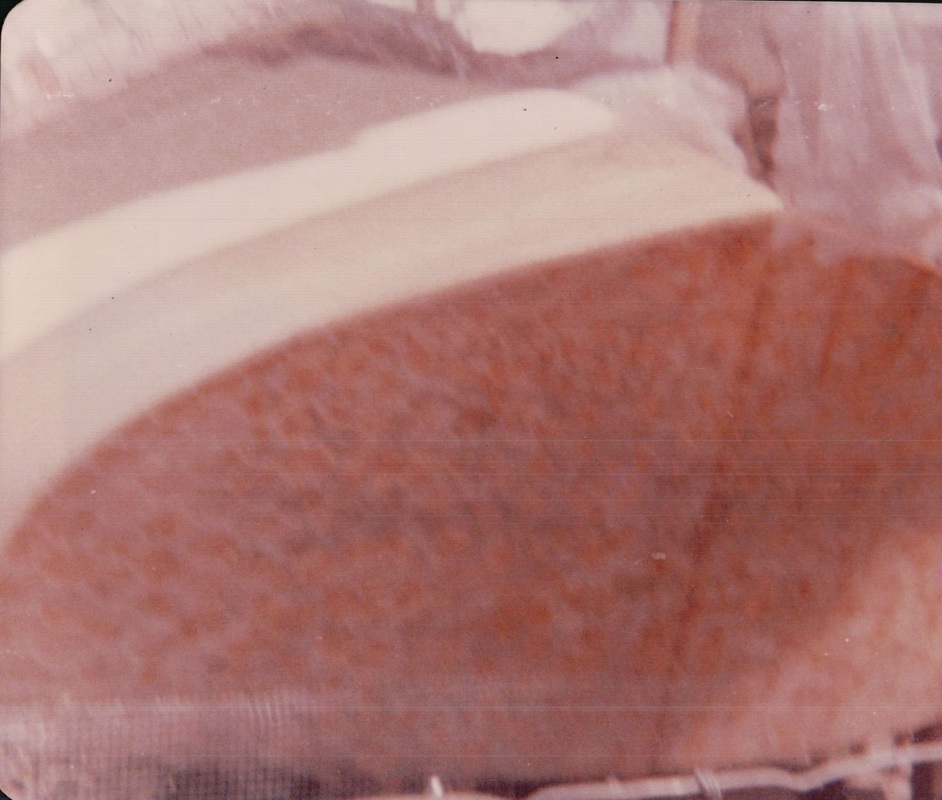
photo #5
|
Look at photo 1 below to see the stitching . I put as many row's of stitch's as I needed to fair out the foam. They just butt up next to each other, sometimes you may have to do a little trimming but not that often. If you look at photo #4 you will see what the boat looks like when it is completely covered with the foam. I had to block some of the foam together along the leading edge of the keel so I could sand and shape the leading edge of the keel. I did this with my belt sander. Also you remember that we trimmed the shape of the transom a little large so when the airex was butted against the transom I was able to sand it down fair to the foam. Photo #5 One last check for a fair hull was made an now it is time to get ready to glass.
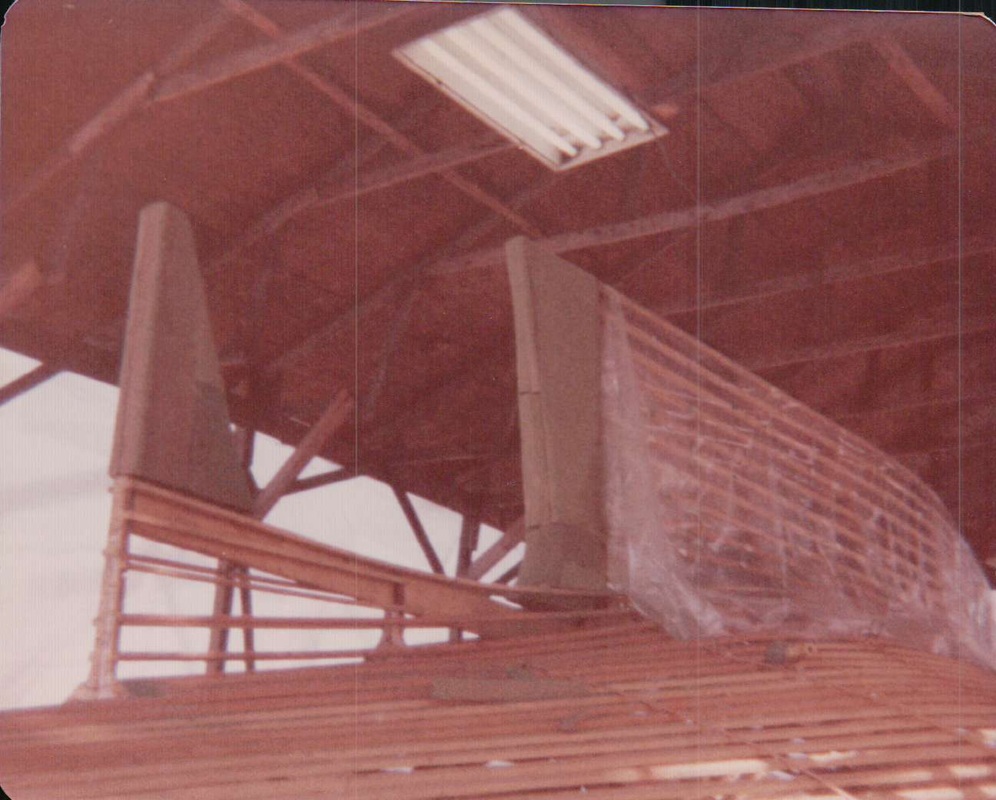
PHOTO #2
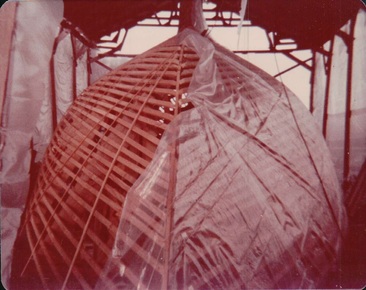
PHOTO #3
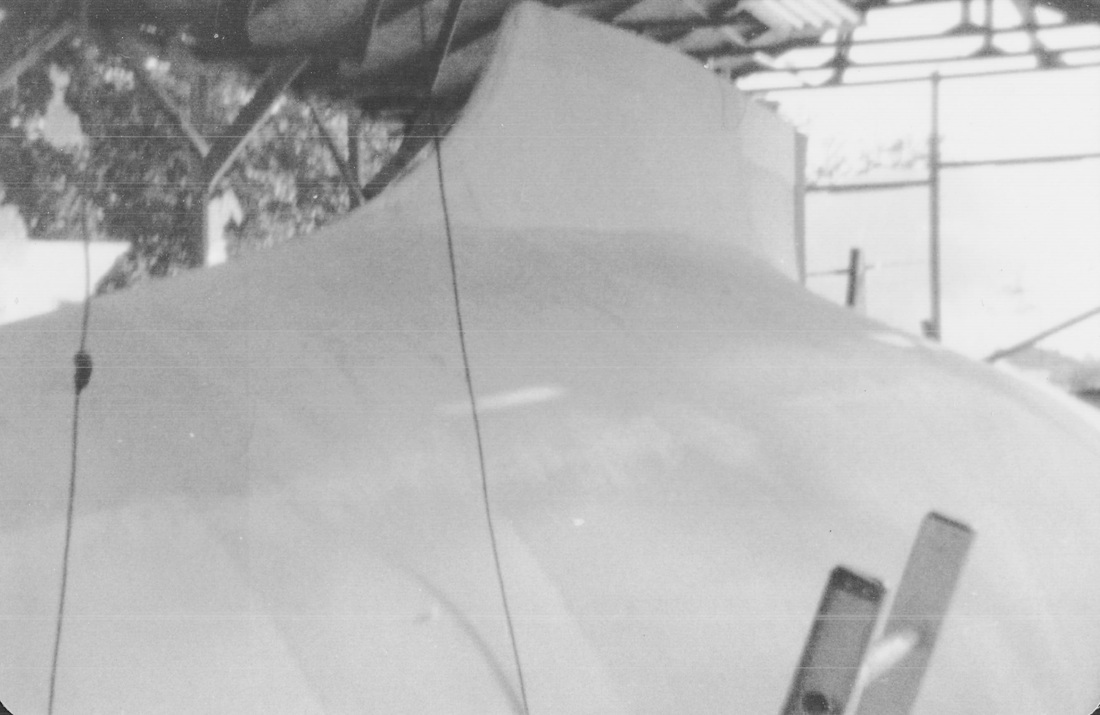
PHOTO #4
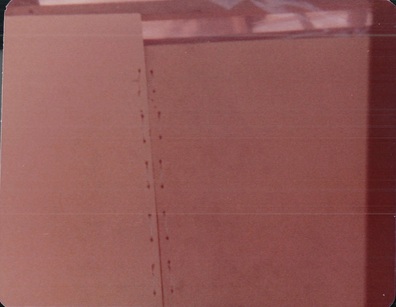
PHOTO #1
" ©2015-2019 shipshapetipsboatbuildingandrepairs.com “All Rights Reserved”
|