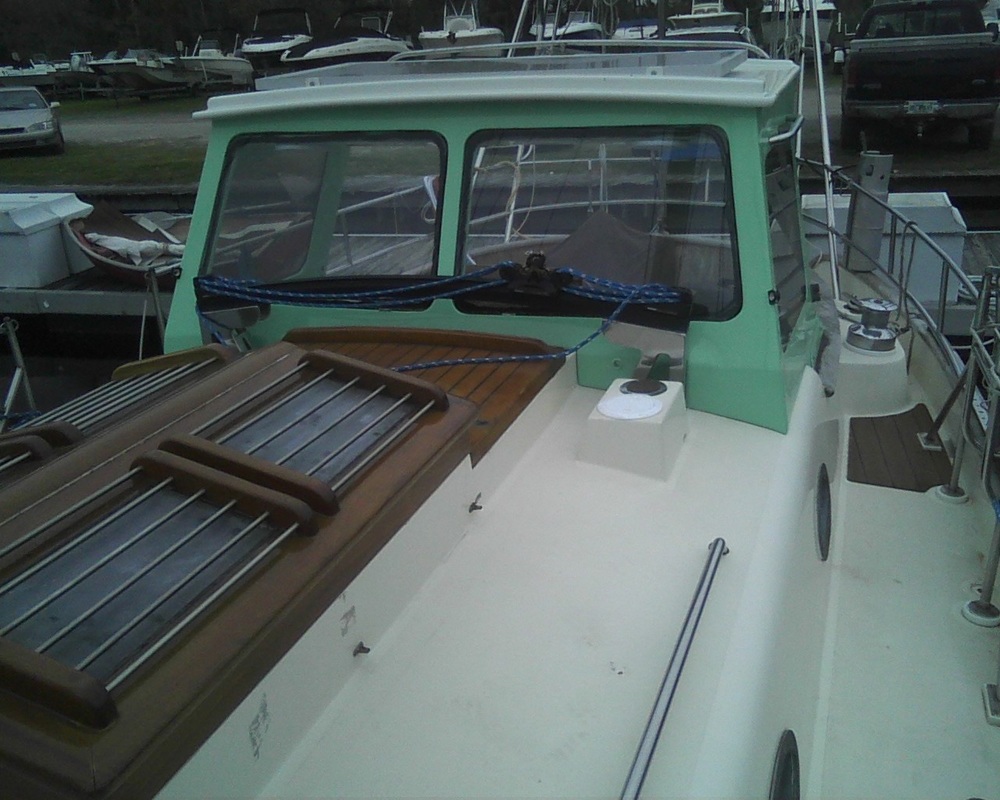
Finished Dodger with cells on top,scroll to bottom to see all the view's inside and out.
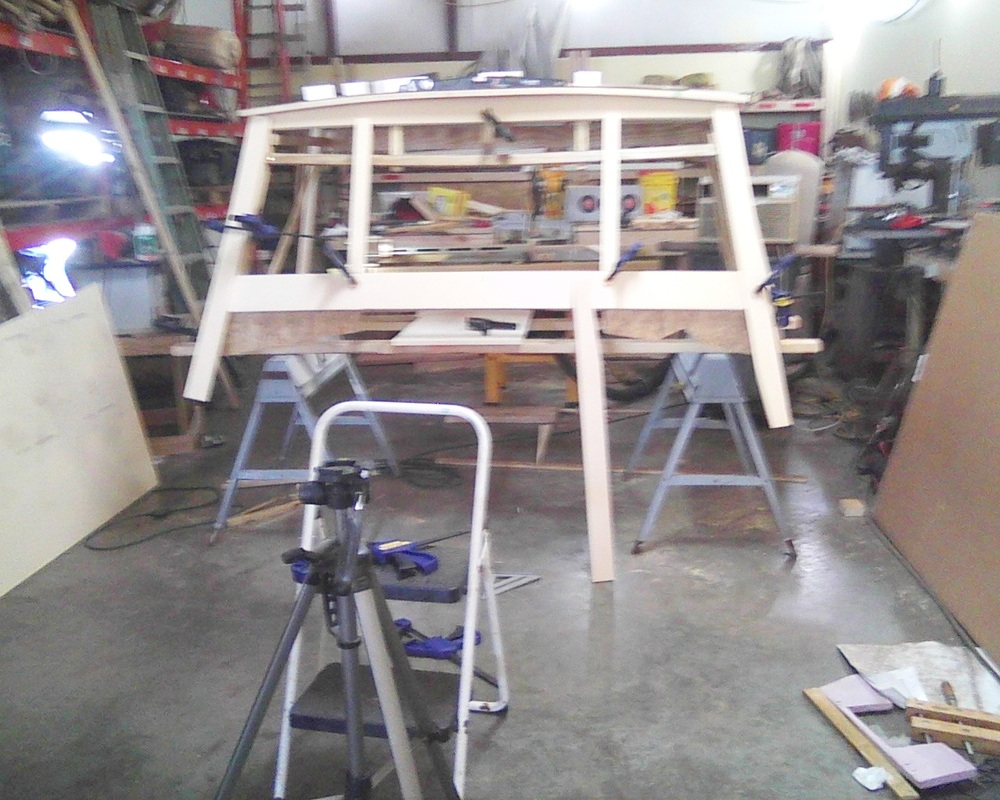
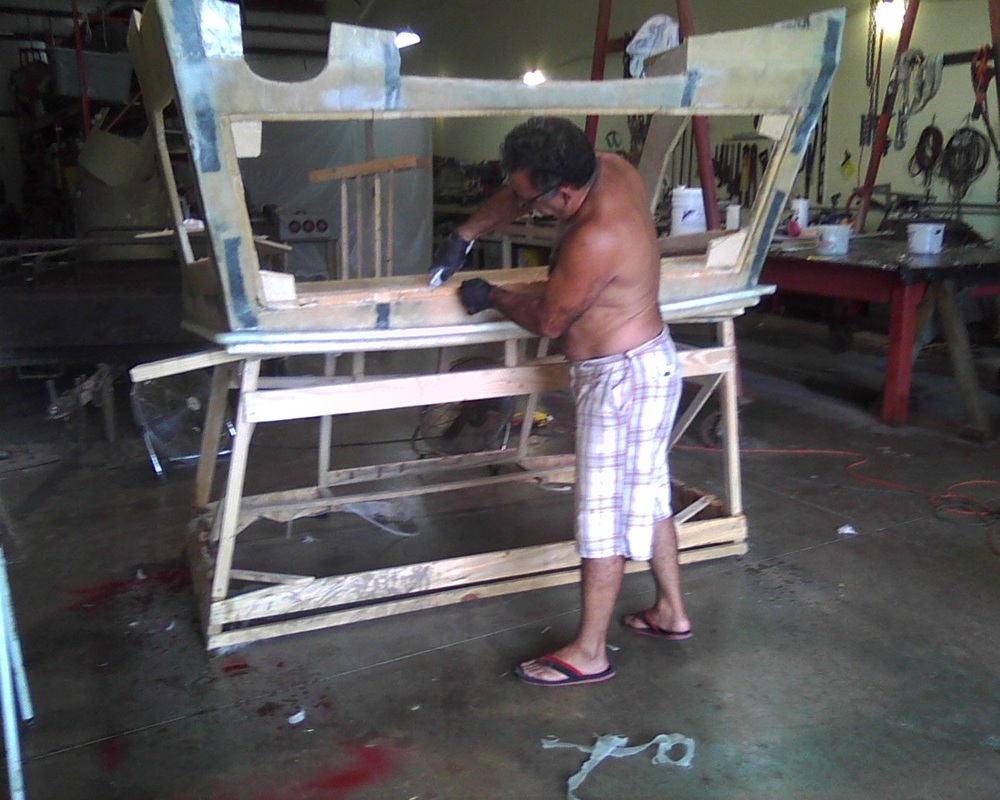
I have spent the last couple of weeks helping a friend build his stitch and glue dodger project. The first thing we did was construct a wood frame on the boat to sew the core cell foam on and glue it together with epoxy resin. We figured out the shape this way and was able to mark out any notches and contour's on the cabin top and coaming. If you look to the left you can see in the pic how we got started, screwing it together and taking it apart to relocate and change how we wanted it to fit. Once we had it close to what we wanted we were able to bring it to our shop and as you can see in the pic. We decided on some minor changes and Rock added some more structure to the mold to make it more stable.
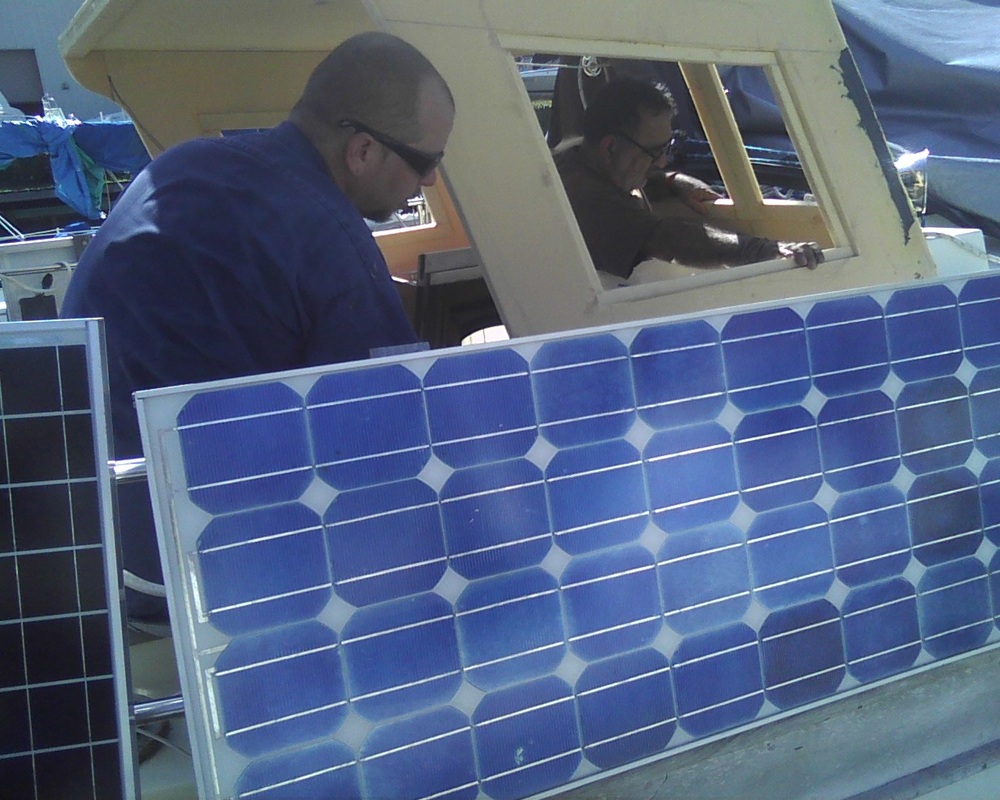
We used bi-ply glass and carbon fiber and another layer of bi-ply glass on the outside to beef it up because we will mount a boom crutch and mount a solar panel on top of the dodger. We rounded off corners and and sharp edge's and rabbited ports to receive the tempered glass, then installed the hard dodger back on the mold and glassed it.
|
Here we begin to construct the mold to build the core cell dodger on.
After the dodger cured we removed the Dodger from the one off mold and began to prepare it to glass the inside. Rock removed the square frame of core cell from around the port opening (bad idea) and reworked them as you will see in some later pics.
|
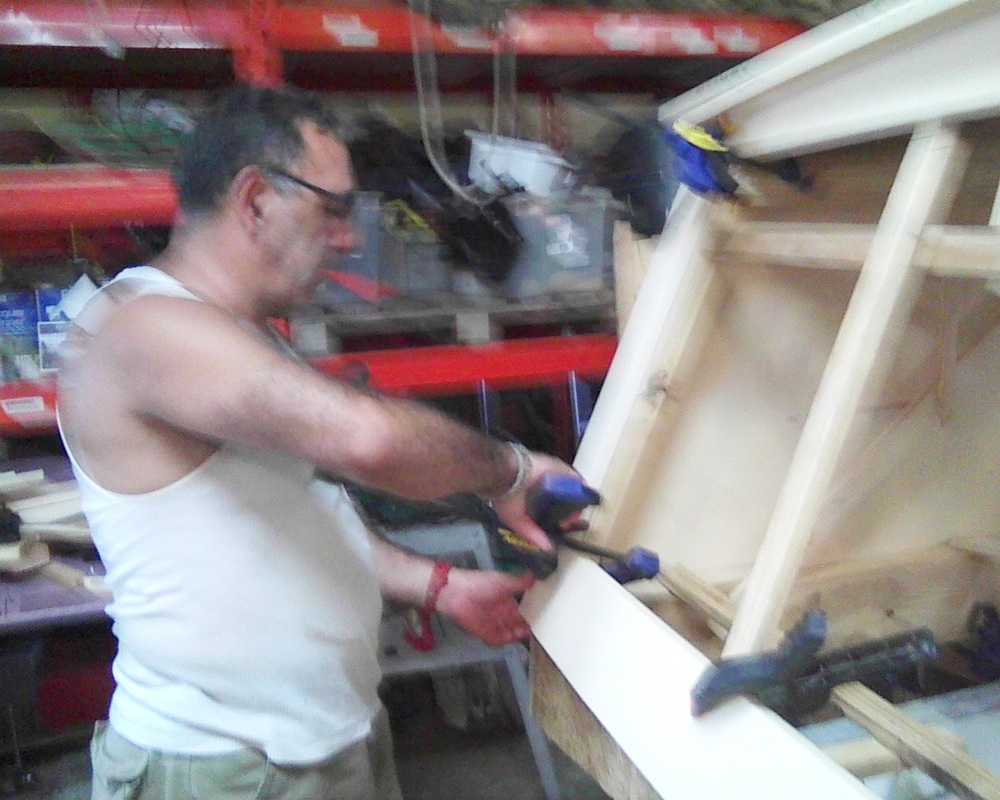
rock begins to install core cell on the mold using screw's to attach it to the mould.
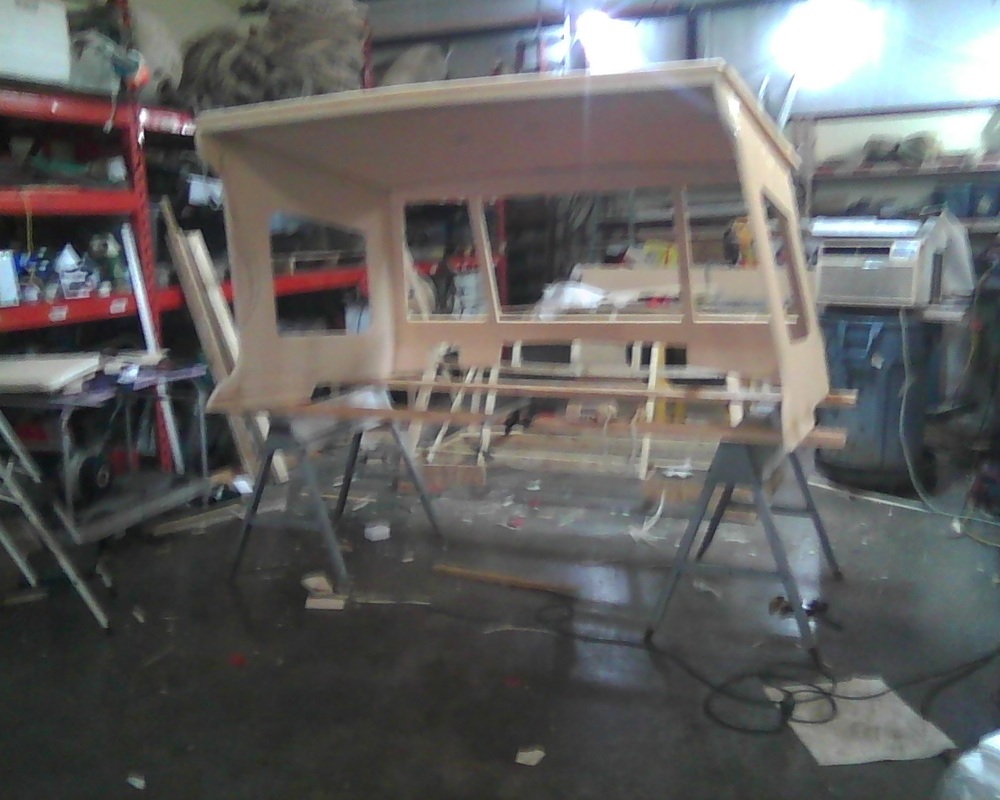
Core cell removed from the mold to make provisions for the ports and rounding off any sharp corner"s.Then we sat it back on the mold and screwed it to the mold to keep it's shape when we glass the outside of the core cell.
|
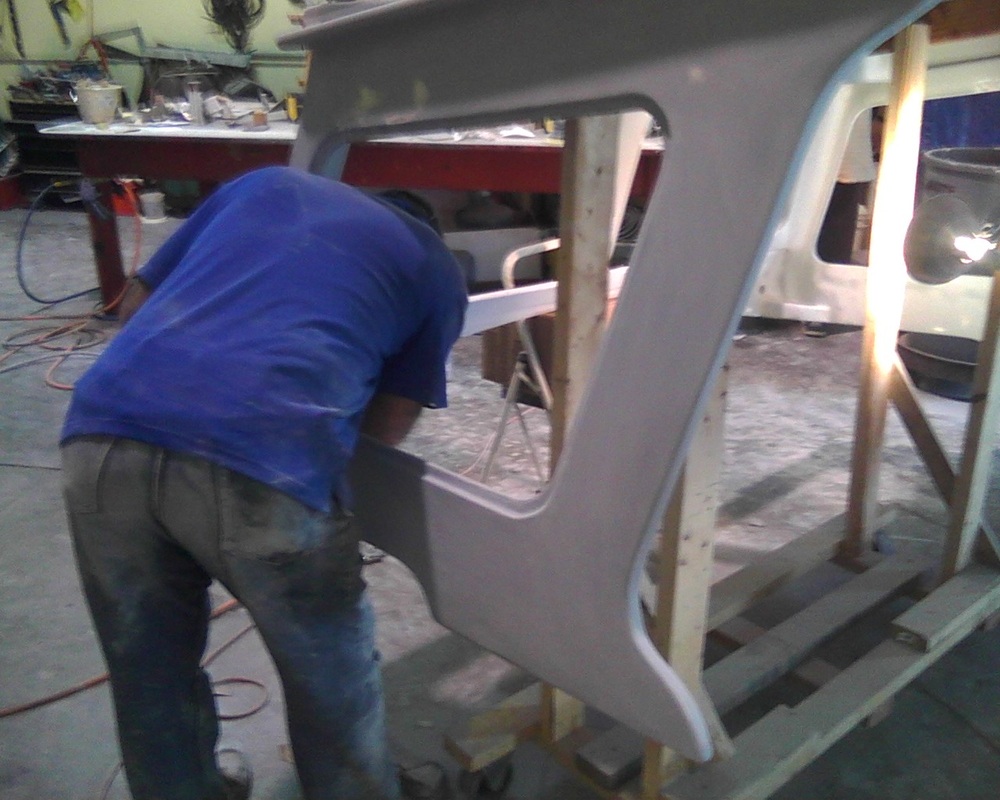
"FAIRING OUT THE DODGER"


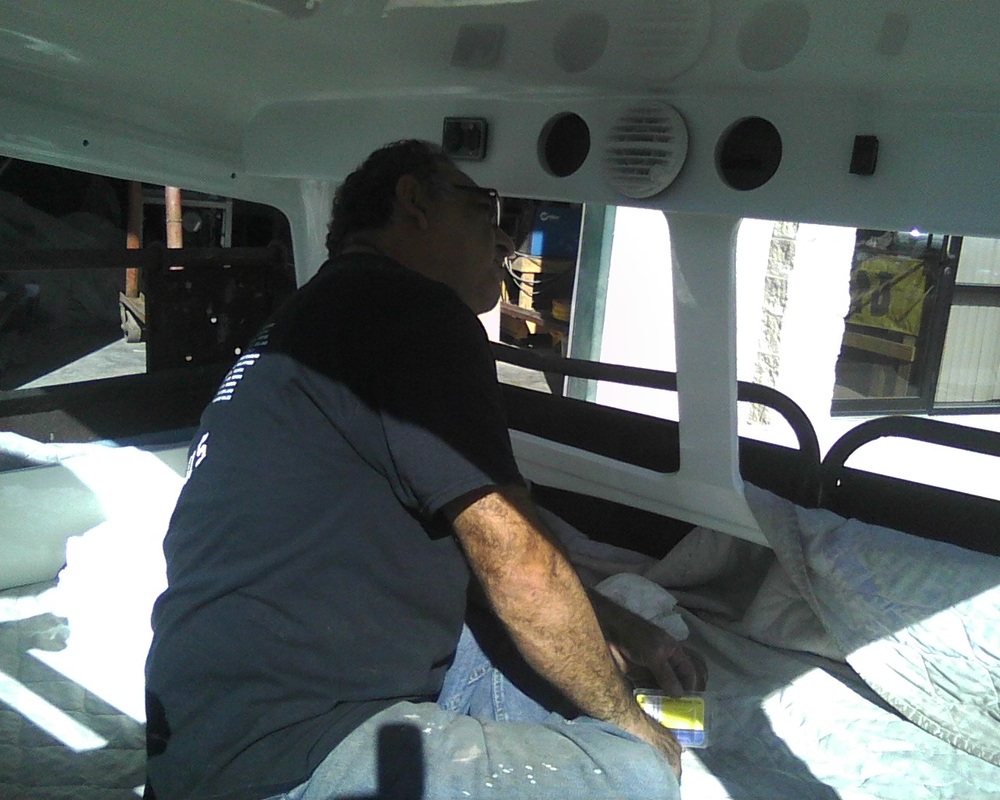
ROCK INSTALLING THE INSTRUMENT CLUSTER
|
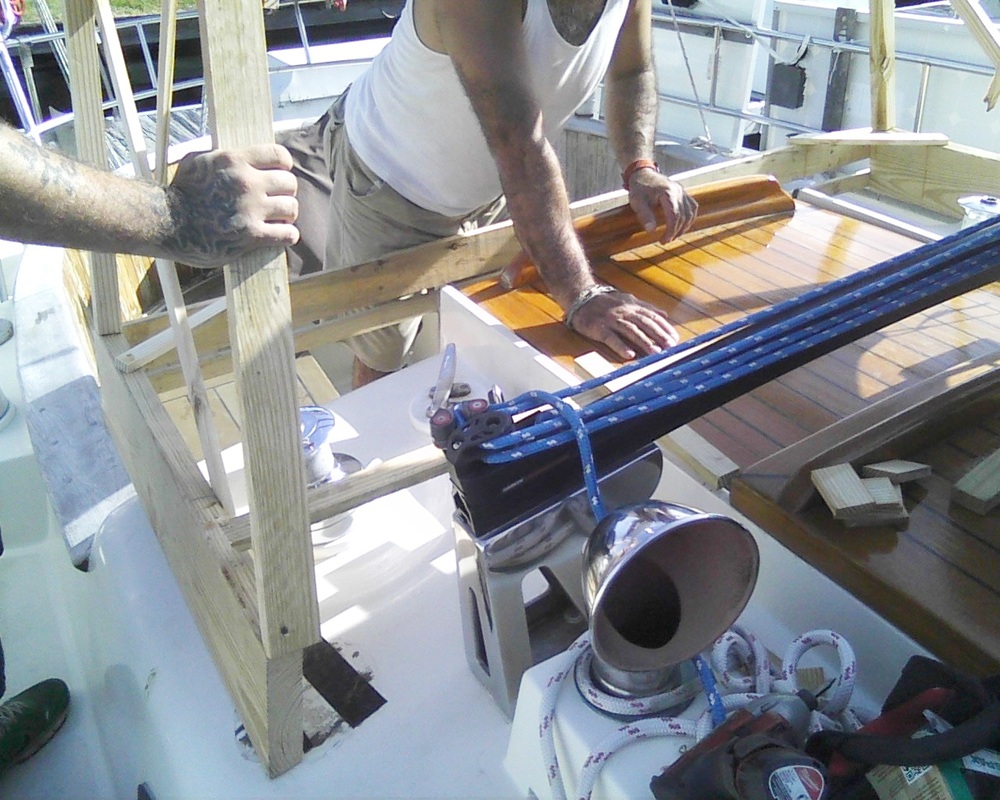
Rock makes one more fitting of the core cell foam dodger on the boat before getting it ready to glass on the outside. After the on boat fitting he can now round of any square corners and joints , taping the rounded joints with Kevlar tape to give the dodger extra strength at the corners. To the right Rock is beginning to install pvc pipe for wire runs for the instrument cluster and lighting inside the dodger.After getting the wire runs installed he rounds every thing up and starts glassing,The inside first and then the out side.After getting every thing glassed he will build the fiberglass brackets to mount one of the photo cells to the left on the top of the dodger.This pic is of the dodger to the left was when he was rabbiting out a channel to accept the port lights. The square corners were rounded up for the tempered port glass.
To the right is the glassed dodger with the first coat of epoxy fairing compound ready to be sanded.To the left primed with high build spray primer.all primer sanding was done with the 3-m sanding boards.
To the left primed with the white high build primer and ready for board sanding again. Note the holes for the Instrument cluster at the top front on the inside. Final paint job at right. Below left Rock installing the instruments.
Every thing installed and mounted except the port lights. Waiting for the Glass.
|
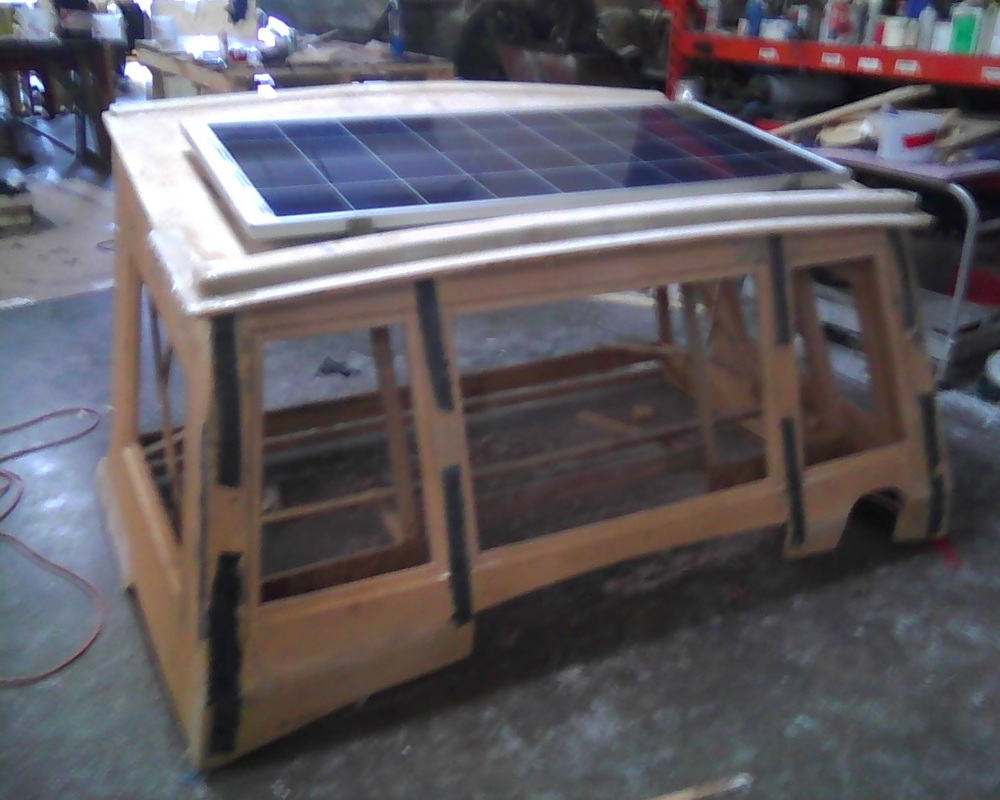
FIGURING OUT WERE TO MOUNT THE PHOTO CELL
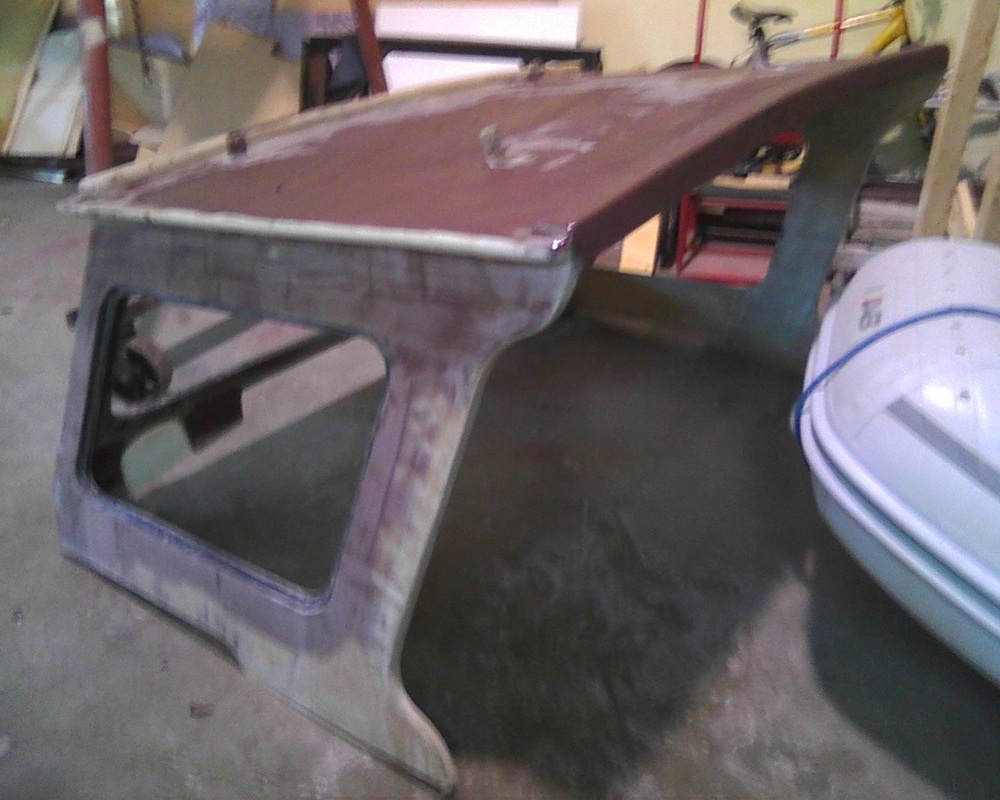
THE FIRST COAT OF EPOXY FAIRING COMPOUND SPREAD OVER THE DODGER TO BE BOARD SANDED, AND ANY LOWS REFILLED AND BOARD SANDED AGAIN.
|
|
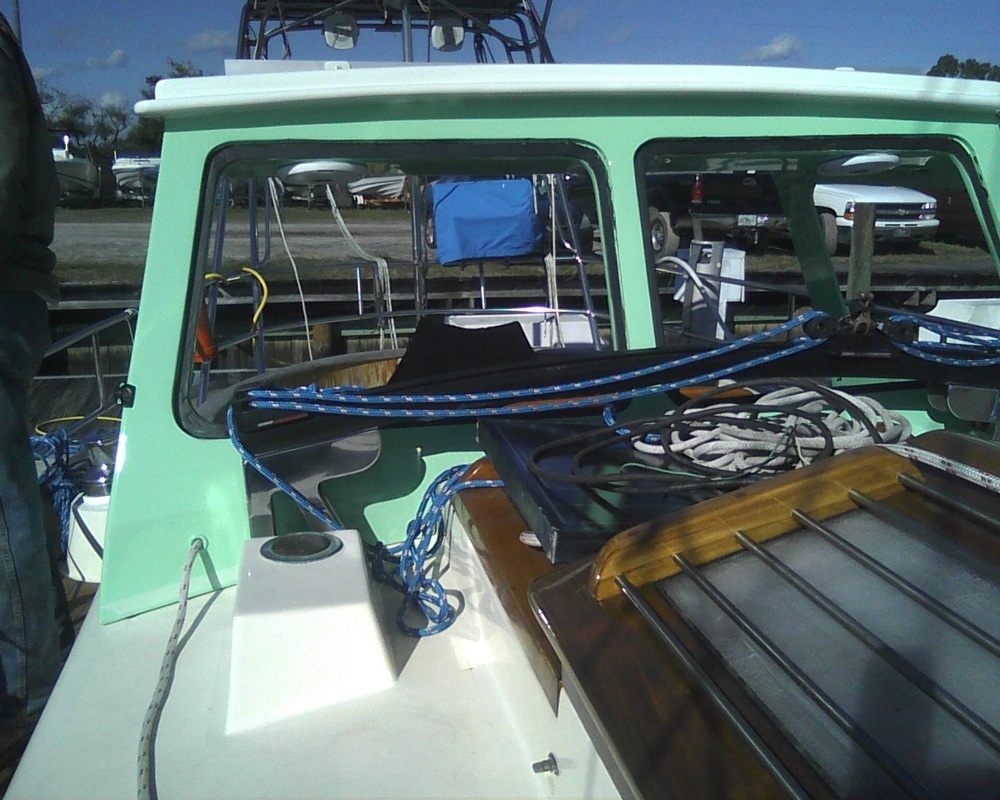
Ports made ready for the tempered glass,note the sheet line's entrance point.
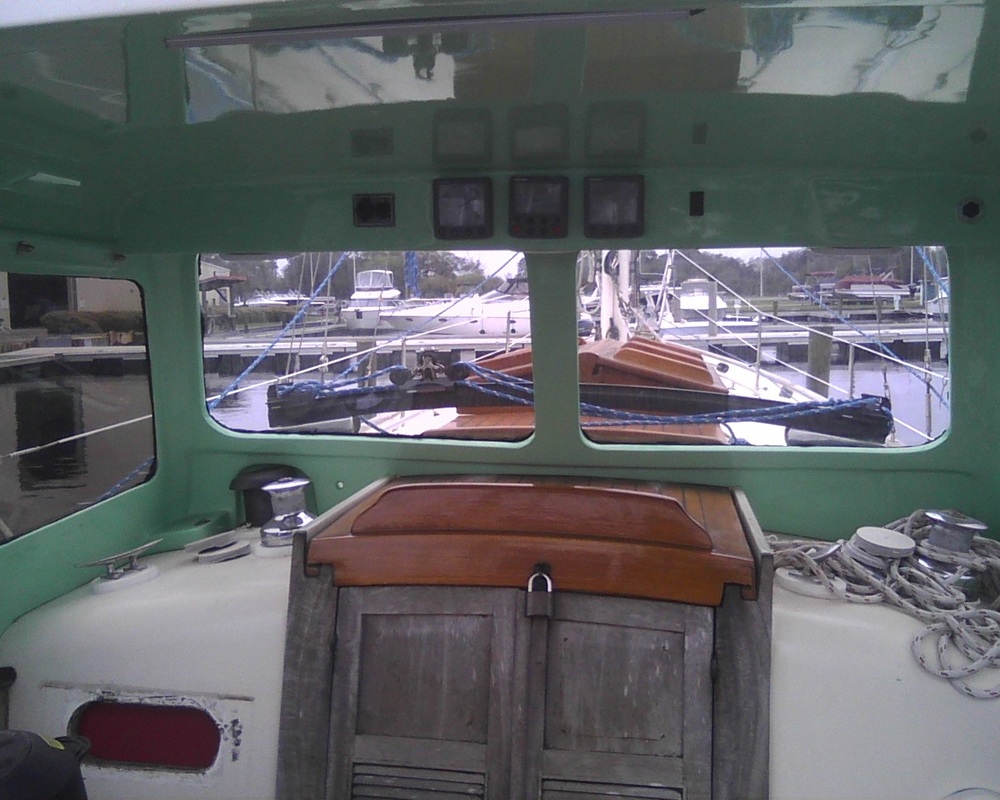
Standing in the cockpit you can see all the instruments installed in the top of the dodger,all wiring is in closed conduit glassed inside of the dodgers body.
|
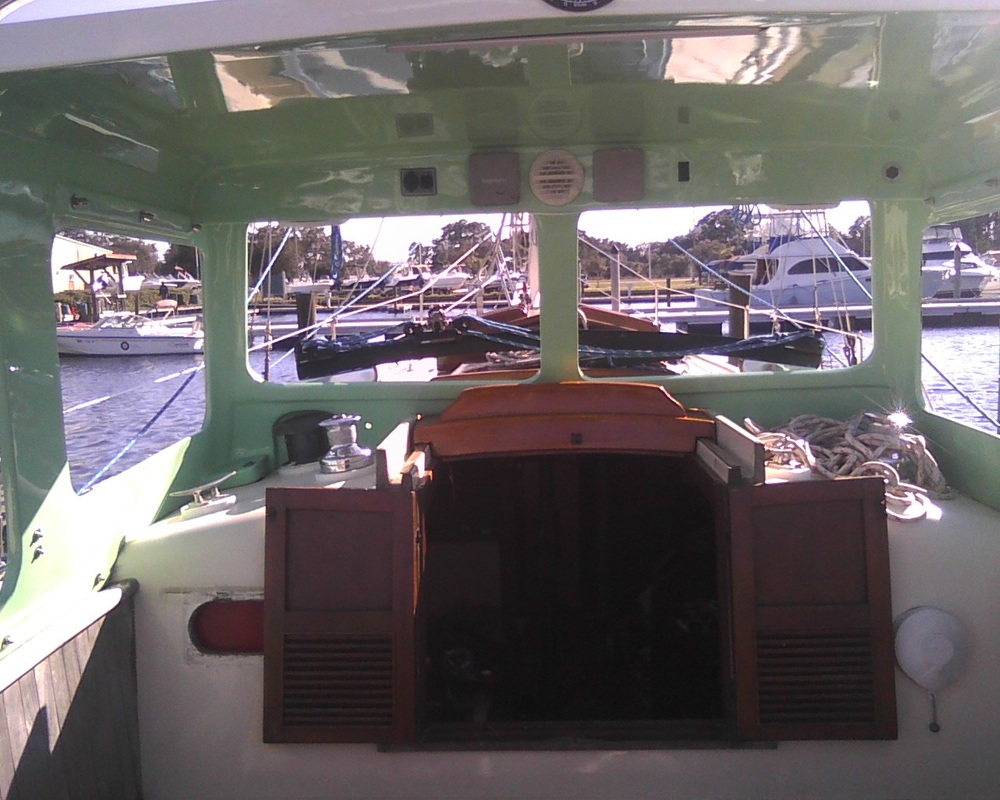
Looking in from the rear you can see the instrument installation . There is led lighting that does not show up in the pic because of the glare of the sun is hiding it. TDhe led light bar has both white and red lighting.You can see the relocated traveler in front of the port lights.Down below is front where all the sheet line's have a provision to go through the dodger so you can handle them from inside.Now all that's left is to repaint the boat to match the dodger, and install the tempered glass.
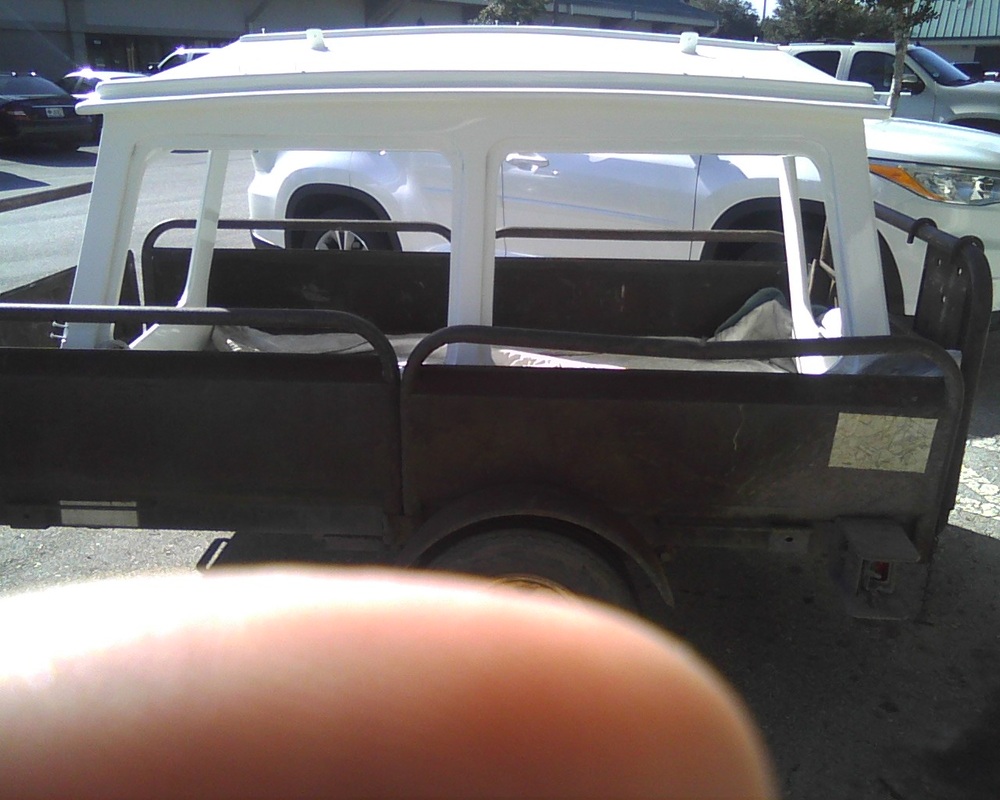
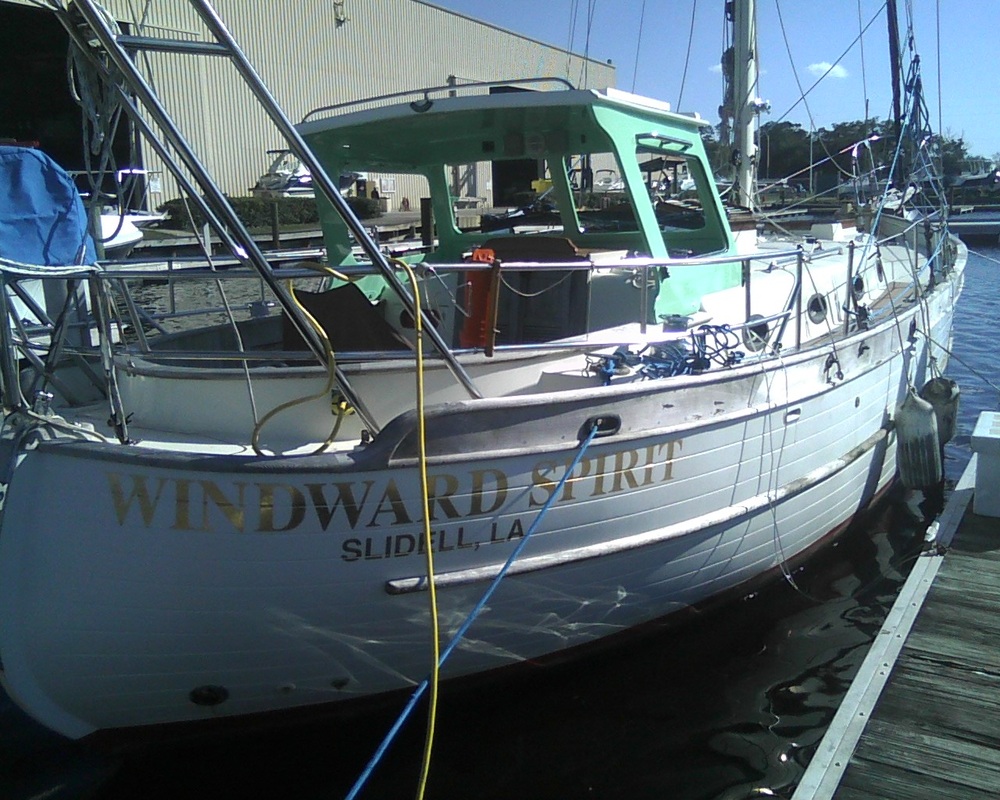
Rock's completed dodger with the Tempered Glass installed

Glass Installed
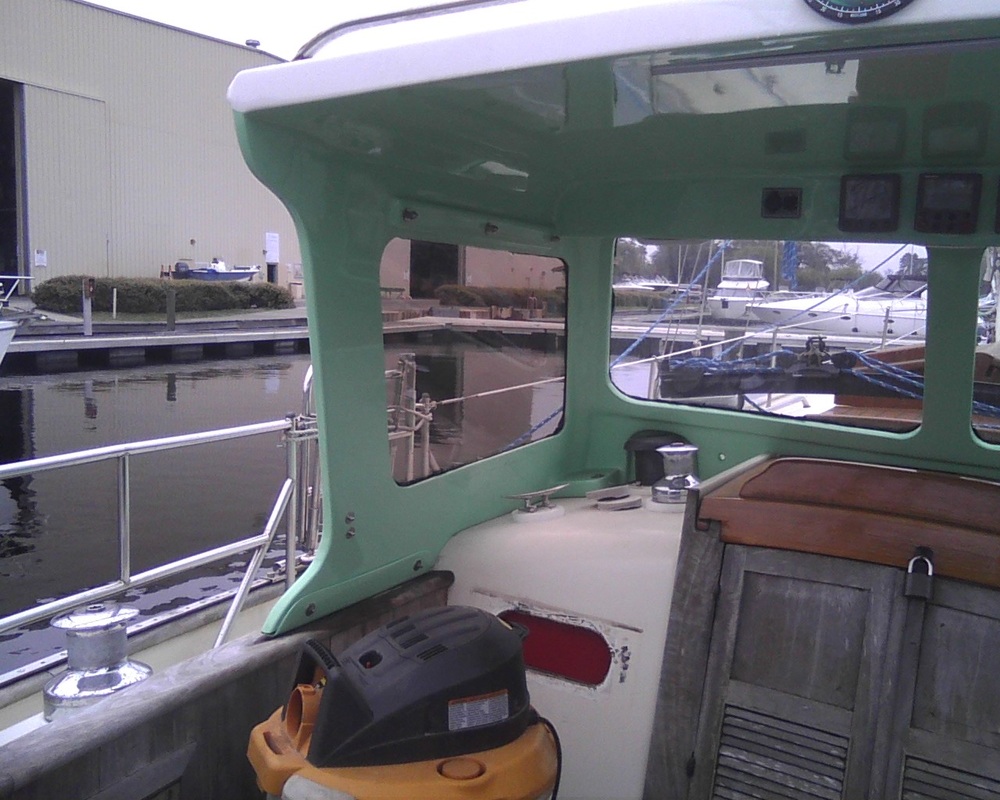
Notice the side ports are bronze tinted tempered glass,and the forward ports are clear per. regs.
|