"Getting ready for below and above deck construction "
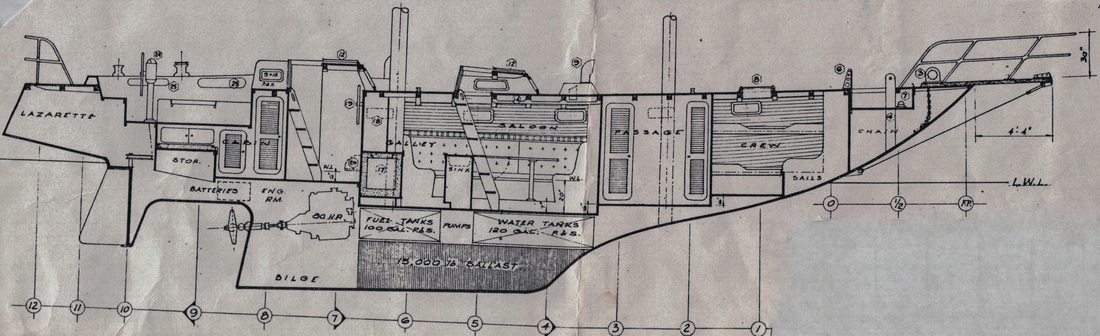
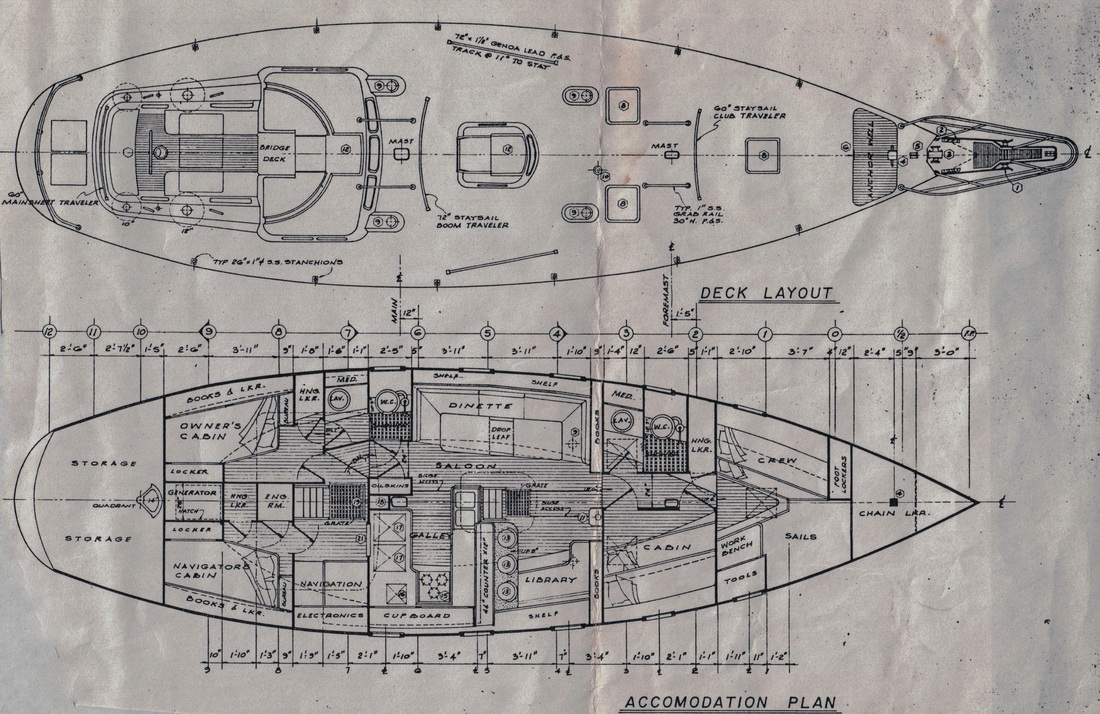
ACCOMMODATION PROFILE
Here are the lay out of my plans ( I had redesigned to my needs by J Kenndy Yacht Design) to refer to as I post pics of the cockpit and pilot house construction so you may compare the plans to the pics.Note in the Accommodation Profile Half-breadth plan below how the cockpit cut away shows the cockpit from the rear Coaming to the bridge deck in the companion way. Below you can see the cockpit in the plan view looking down on it. You may want to refer back to these to get a clearer picture of the construction.
With the Deck Installed time to open it up!!
|
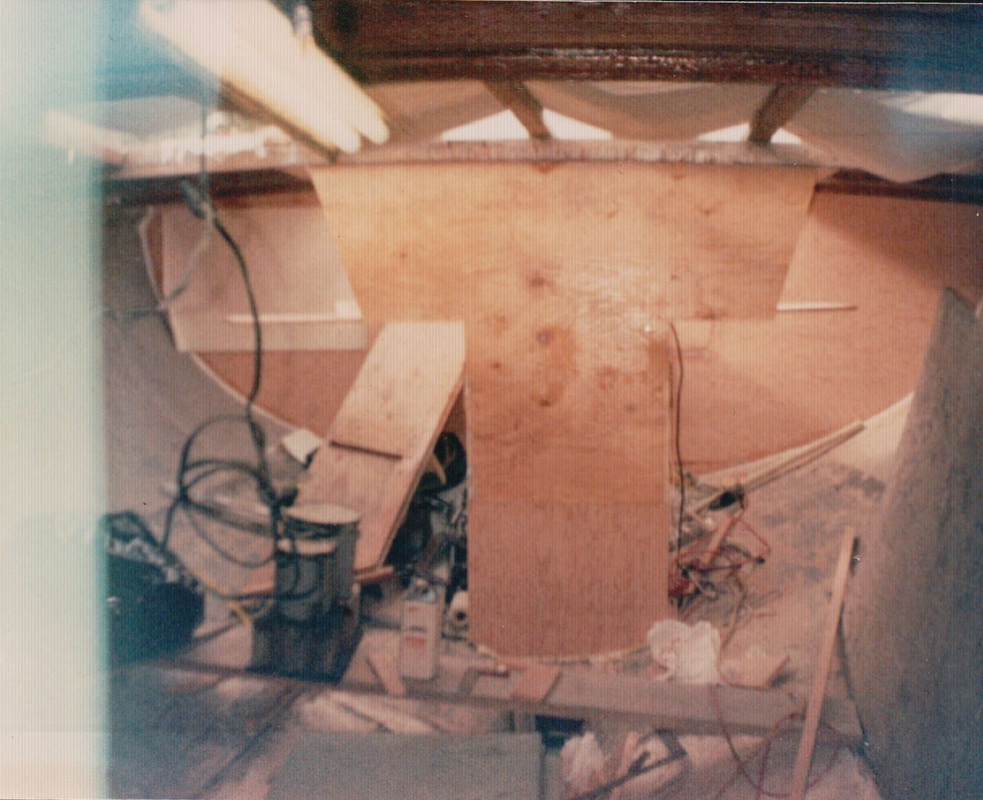
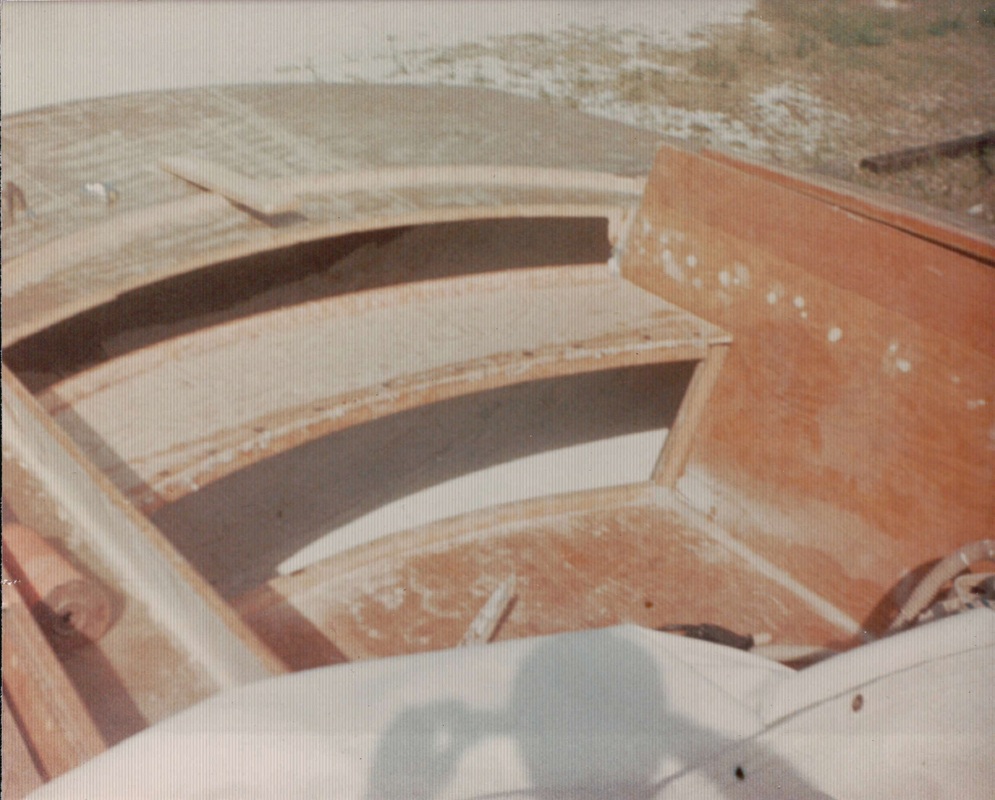
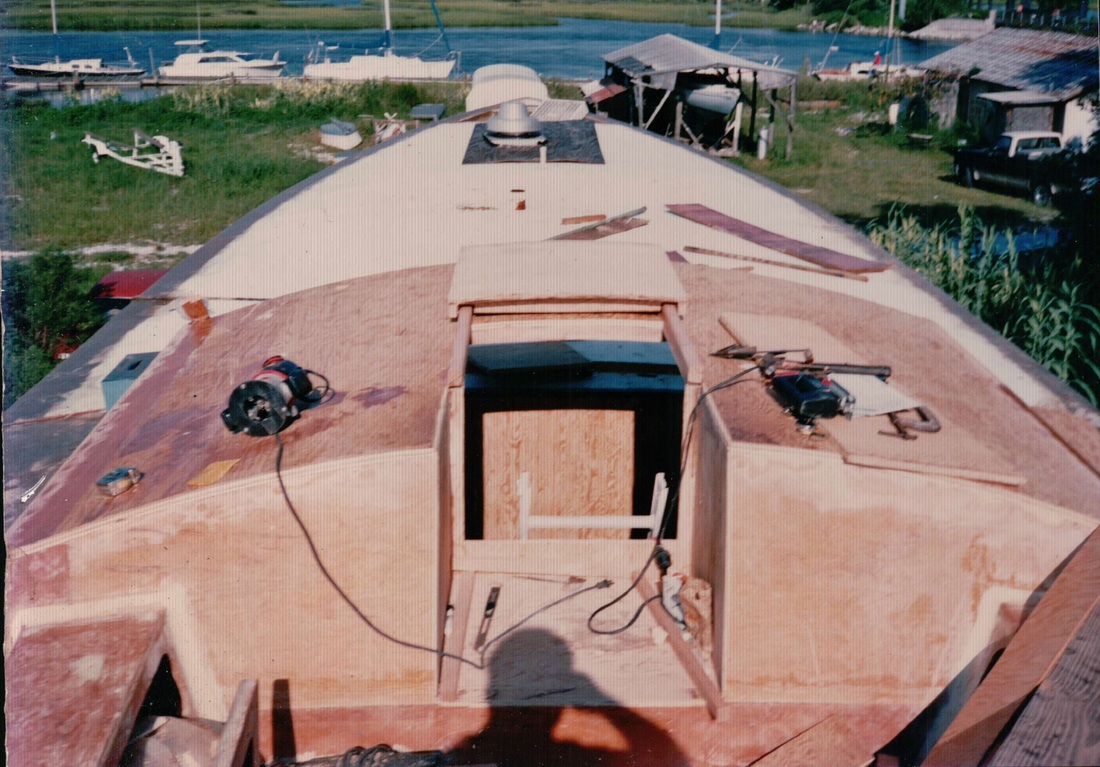
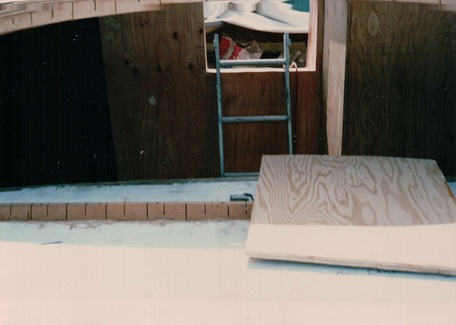
Now you have decked the boat and you will need to get inside, what I did was go ahead and cut out my deck where my cockpit and pilot house goes.I had to cut out some of the deck beams so I had to install Scantlings between the deck beams to tie them together so the deck would not sag before I was able to build the cockpit. I will have to draw a sketch out to go under the pic at the right so you can see how that works,I did not take pics of the scantlings :( sorry. I did find a pic , if you look at the person's hand grabbing the roughed cut out of the deck you can see the scantlings screwed and epoxied in place. the next step was to cut the deck out the rest of the way flush with the face of the scantlings and deck beam ends. Notice the whole deck beam is where the main bulk head will mount and form the back of the pilot house and the forward bulk head of the cockpit. After getting the deck cut out I roughed out the cockpit. I started by getting all my measurements and figuring out all the angles that I would need. I then framed in the cockpit using 1 1/2' x 1 1/2" fir stock.Next I used 3/4" fir plywood to build the cockpit out. I built the bulkhead for the cockpit and the back of the pilot house in two pieces,the lower piece was attached to the front of the cockpit and stopped at the bridge deck and the upper was installed when I tied the pilot house and cockpit together. I built the pilot house in the same manner as I built the deck.The camber in the deck house should be greater than that of the deck and should be stated in your plans. I left off the front of the pilot house so I could slide all my big bulkheads inside of the boat. But before I started working inside , I installed all of my deck hatches and my Dorade box's and cowl vents so I could have some ventilation down below while working which I will show how I constructed them a little latter..
Pic 1 above: Looking at the bulk head in between station #8 & #9.
FITTING OUT THE COCKPIT
Pic 3 above
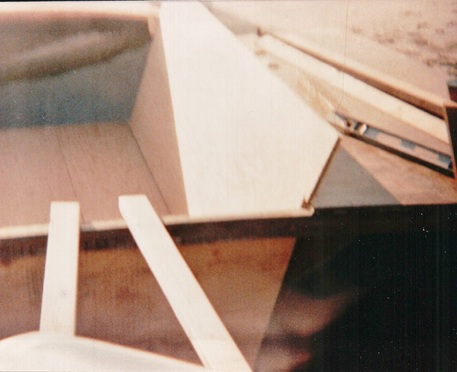
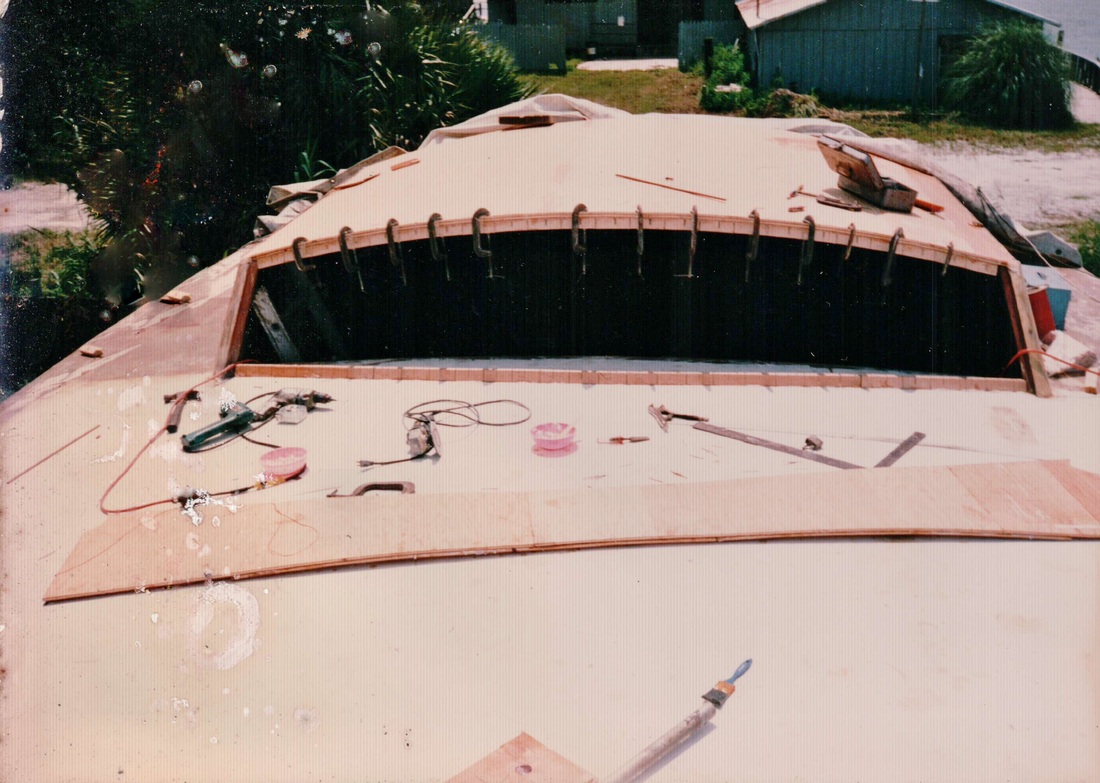
Pic 5. Forming the rear cockpit seat. Note how the cleats are are installed to receive the lower face of the seat. The cleats have kerfs cut in them to take the bend of the seat. Also if you look on top of the deck you can see the long radial cleat on the deck ready for installing the back coaming .
Pic 6. Fitting out the face of the cockpit and the back rest. When you fasten together the wood in your cockpit be sure to set your driver drill to sink the screw heads below the surface of the plywood,they later can be filled with a filler mixed with epoxy and sanded smooth before glassing.All bonding of the plywood or core cell foam should have a fillet formed which I will show in the next picture. Once you have every thing together including the top half bulkhead to the back side of the pilot house you can put the top piece of plywood on top of your coamings, first installing your fir cleats on the inside of the comings so you will have something to screw the tops to. Also if you have winches that attach to the coamings you should block from the top of the coaming to the deck, at lest that is what I did and through bolted the winch with s.s. all thread rod right thru the deck and fastened it on from below deck. If it pulls that winch off it's going to take part of the deck with it. :) 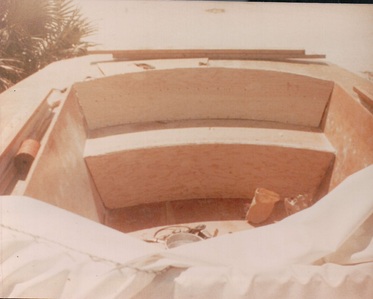 PICTURE #6 PICTURE #6
picture #7
This picture shows my fillets that tie's in the coaming into the upper pilot house bulkhead .The filets were made before I built the cockpit seats which are not finished with the fileting. It should be noted everything that you screw down,should be glued down on any structural member of your boat and that is all things on deck. I used cotton fiber and epoxy to make my glue. I would not recommend using cotton fiber for my filets,I would use cabosil or the West System Hardware fastener,and what I did latter on, I glassed my filets while they were still wet so I would not have a lot of sanding . You may use the rounded end of a tongue depressor, or a piece of a plastic deli container cut out and rounded out on one end depending on what size radius fillet you may need to make.
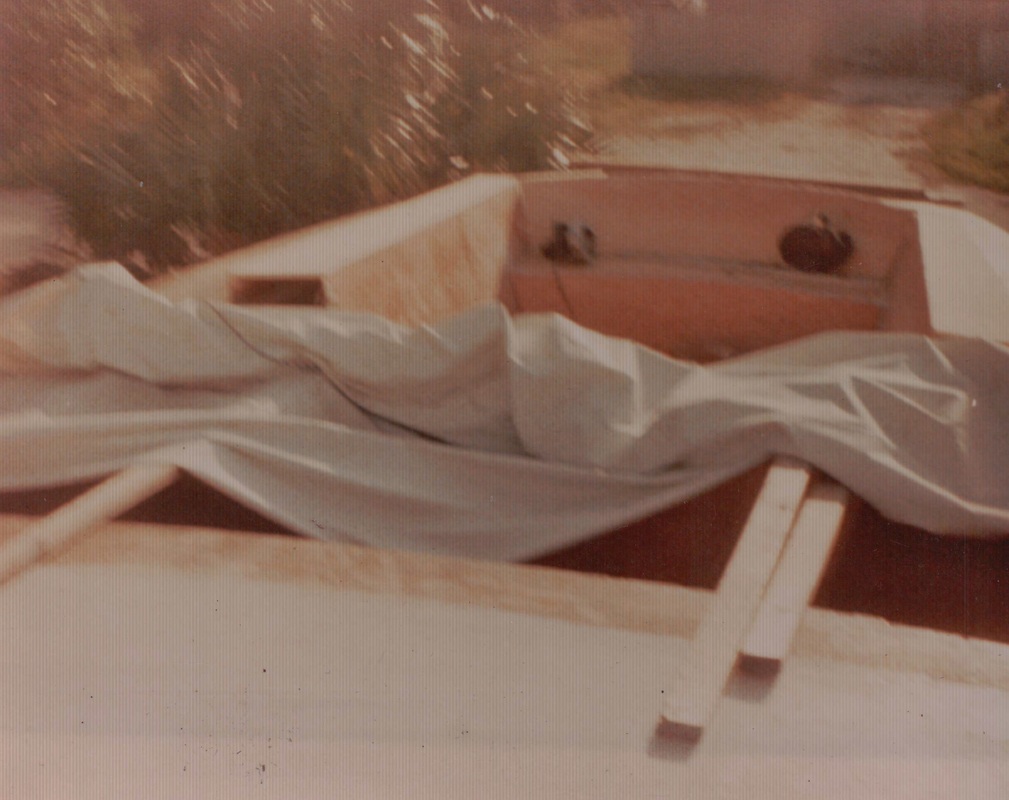
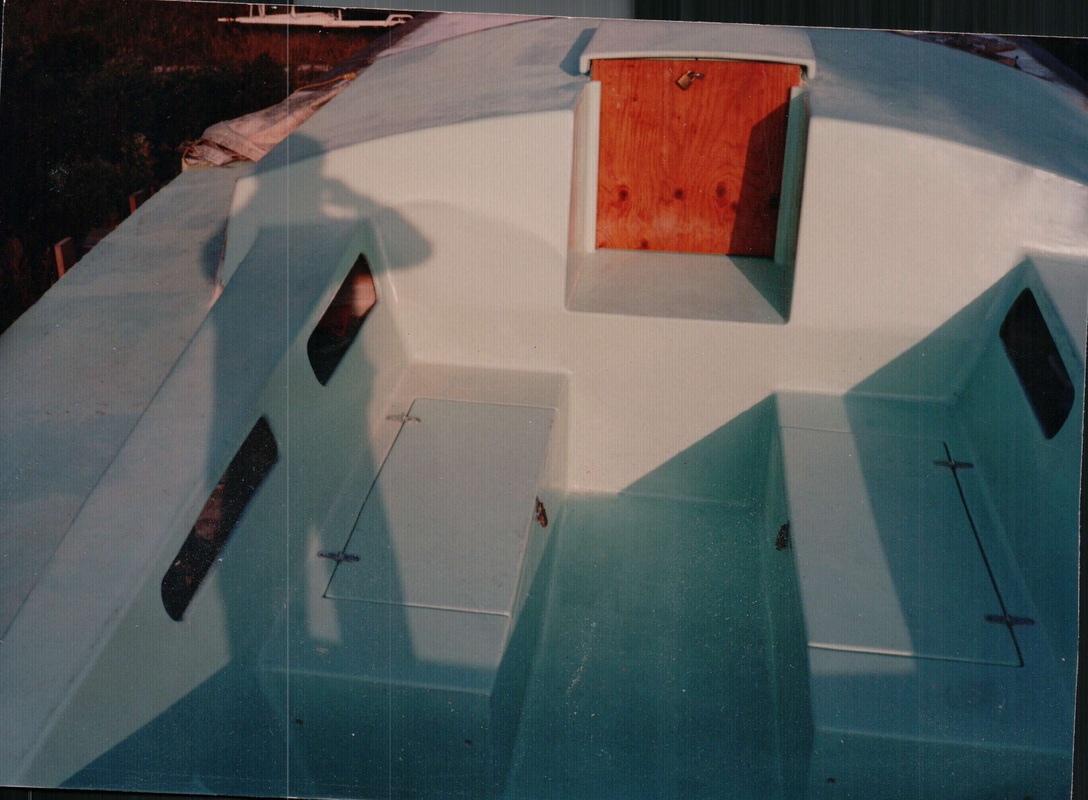
The back of the pilot house showing the companionway and bridge deck along with the hatch and laminated top,Which is four layers of 1/4" Fir plywood. Corners need to be rounded off and fairing the wood before getting it's epoxy coat before glassing. Looking to the front of the boat you can see that I am going to cut out the hole in the deck for the deck hatch so I can temp. install that exhaust fan. :)
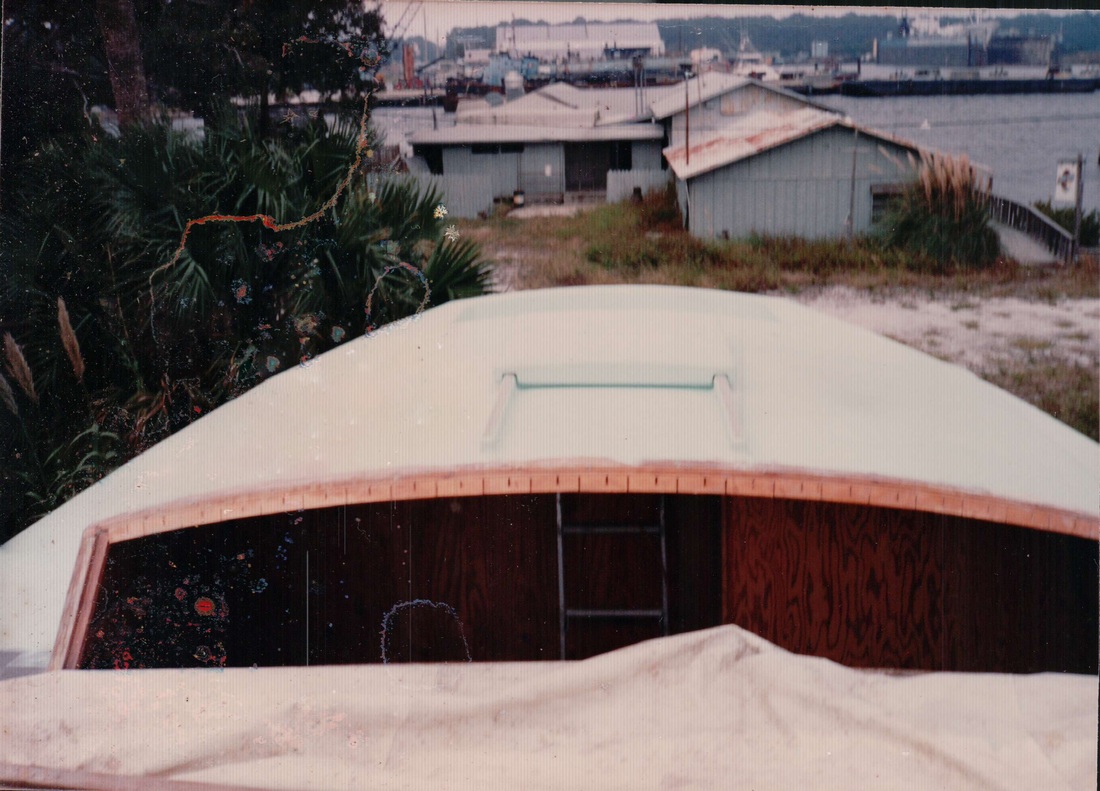
Front of pilot house left off to pass big bulkheads thru.
|
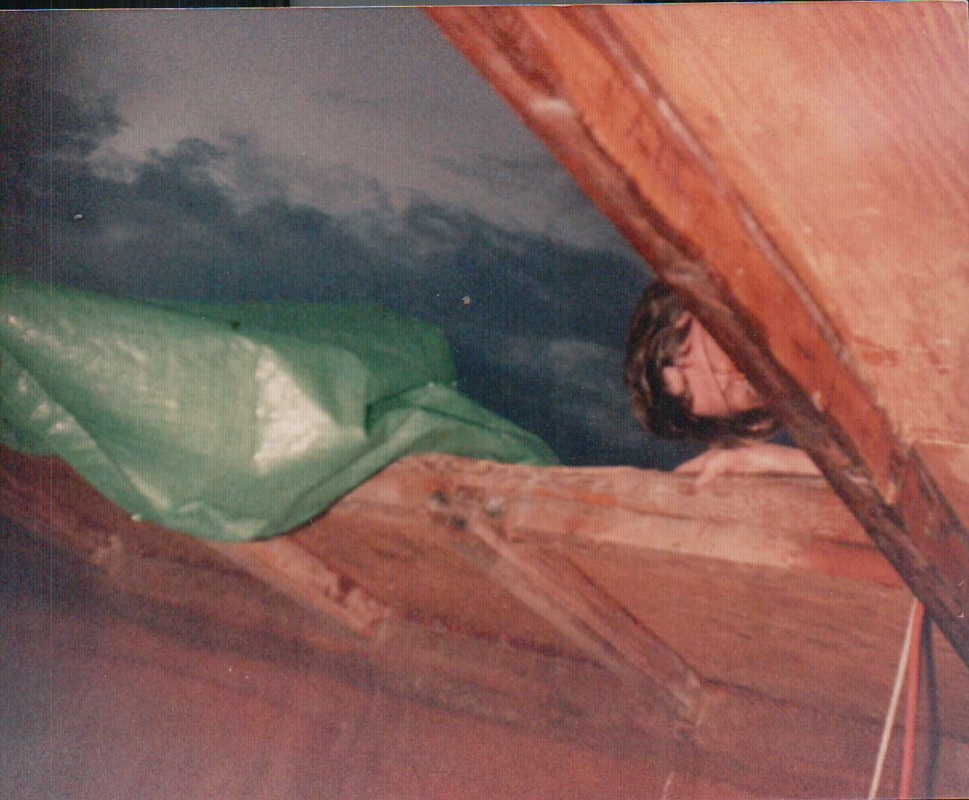
YOU CAN SEE THE SCANTLING UNDER THE ROUGH CUT DECK SCREWED AND GLUED BETWEEN THE DECK BEAMS JUST INSIDE FROM THE PERSONS HAND
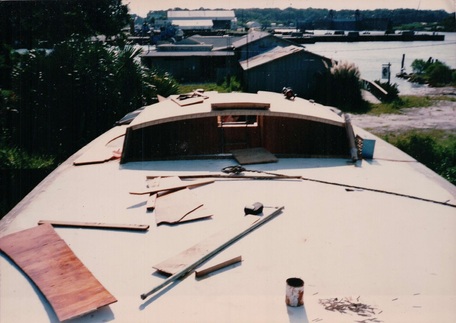
DECK CUT OUT READY TO START COCKPIT AND PILOT HOUSE
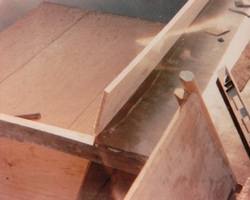
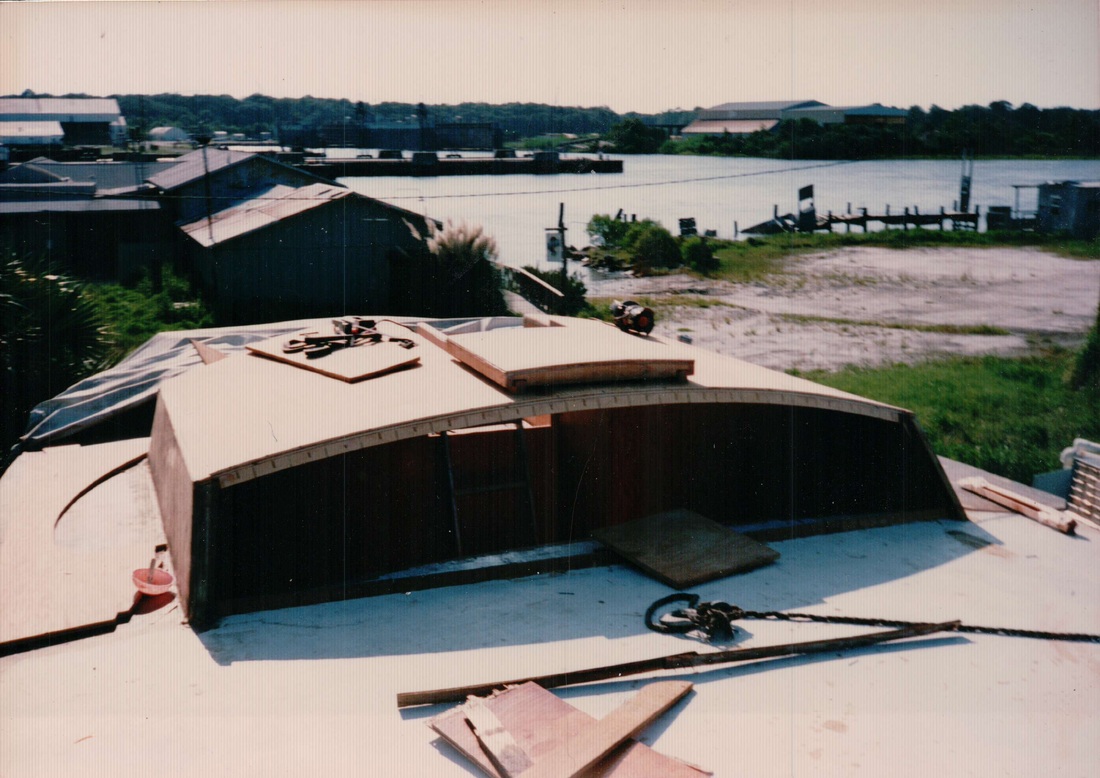
GETTING THE ANGLE'S FOR THE SEAT BACK REST'S
In the above picture after all the angle's and measurements are taken,the portion of deck beams inside the cockpit are cut off flush with the scantlings angle.
BUILDING OUT THE COCKPIT
Pic 2 above: The longitudinal floor installed in between the station #9 bulkhead in the back and the tee shaped bulk head that forms the back of the pilot house and the cockpit lockers in the front of the picture. 1 1/2" fir cleat stock is used to tie all the cockpit structure together. A butt splice is used to add a piece of 3/4" plywood to achieve the proper floor elevation.
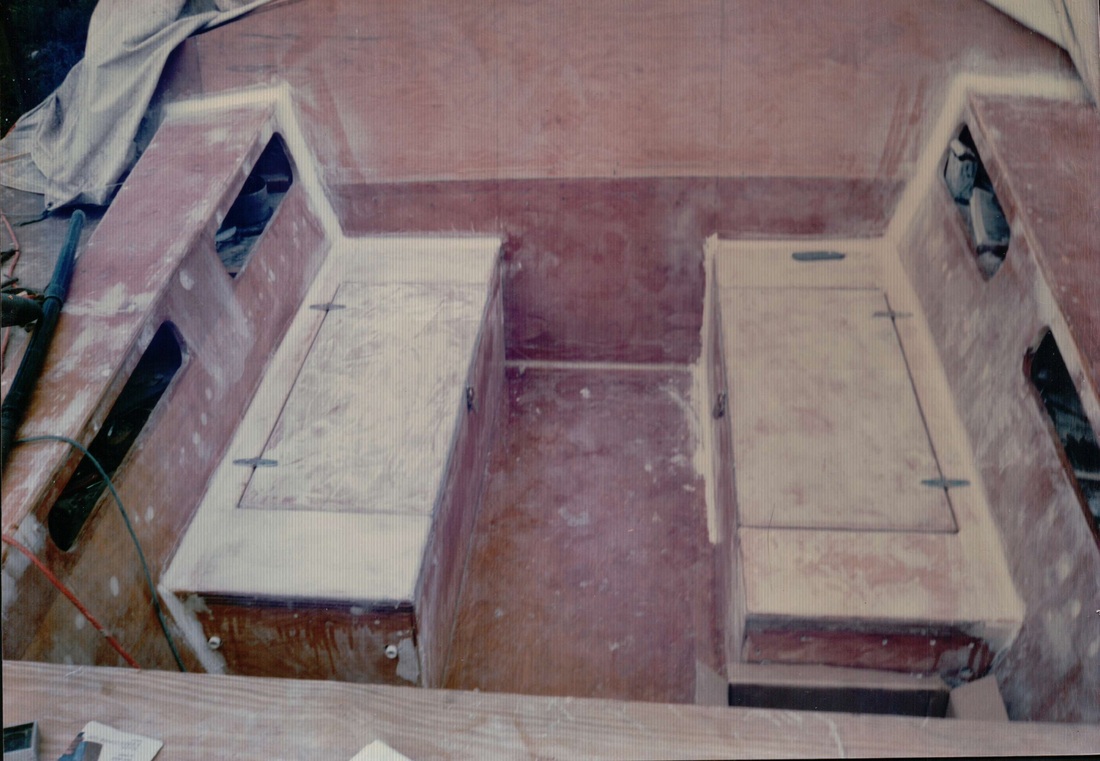
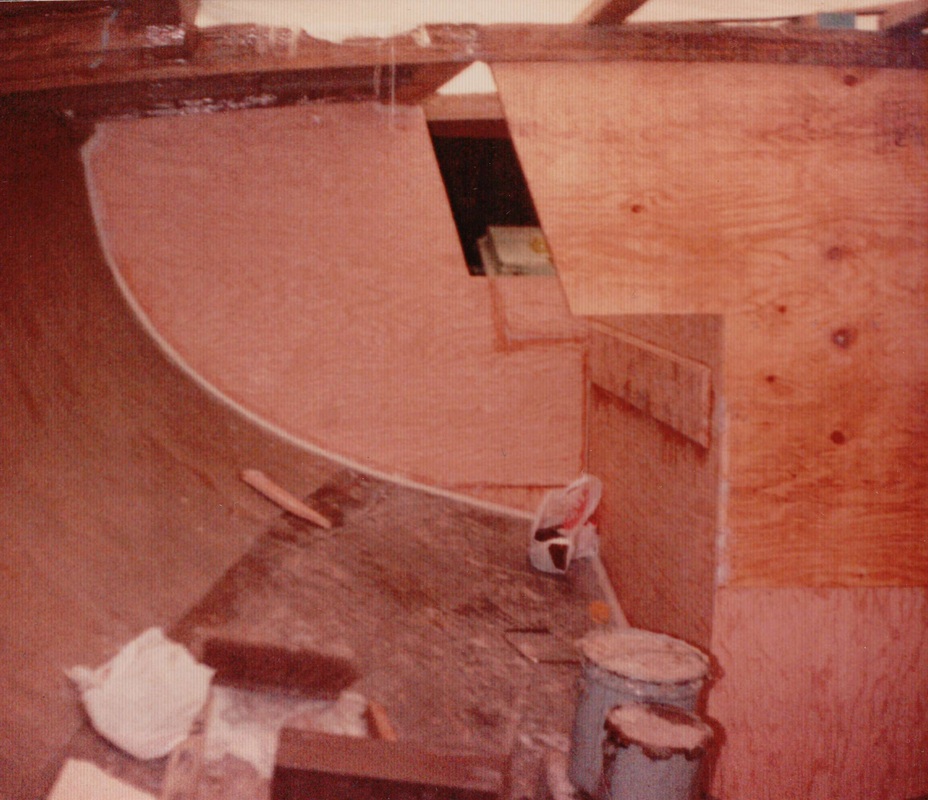
Pic 4 Installing the cockpit sole and the cockpit locker backs. Notice how the locker backs extend above the deck to form the inside of the coaming. In the lower right hand corner you can see where I have installed the pilot house sides with a corner post rabbited out to accept the other half of the pilot house bulkhead. If you are not familiar with constructing a corner post you can find a good explanation on constructing it in "DANIEL SPURR'S" UPGRADING THE CRUISING SAILBOAT. It is in paper back and can be had used and in good condition.
" YOU CAN SEE THE BULK HEAD INSTALLED THROUGH THE FRONT OF THE PILOT HOUSE "
TWO VIEW'S OF THE PILOT HOUSE UNDER CONSTRUCTION
The pilot house is built like the deck except it has side's with ports in them. I also build my hatch hood the same way ,making a small camber jig and screwed my Airex Foam to it and glassed the whole outside,them removed the screws from the inside of jig and glassed the inside and installed it latter when I installed the front of the pilot house after I had all my big component's inside.
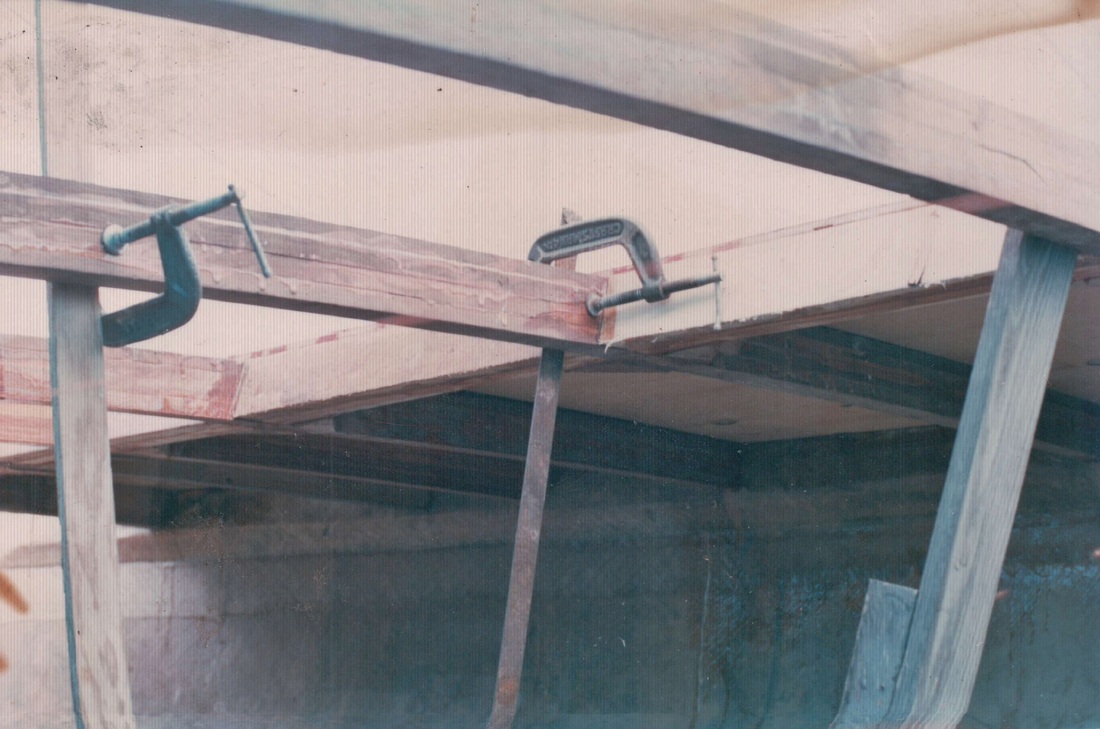
Installing the kerfed Fir cleats before laminating the front of the pilot house,this is also a good reason to have plenty of 10" c-clamps :)
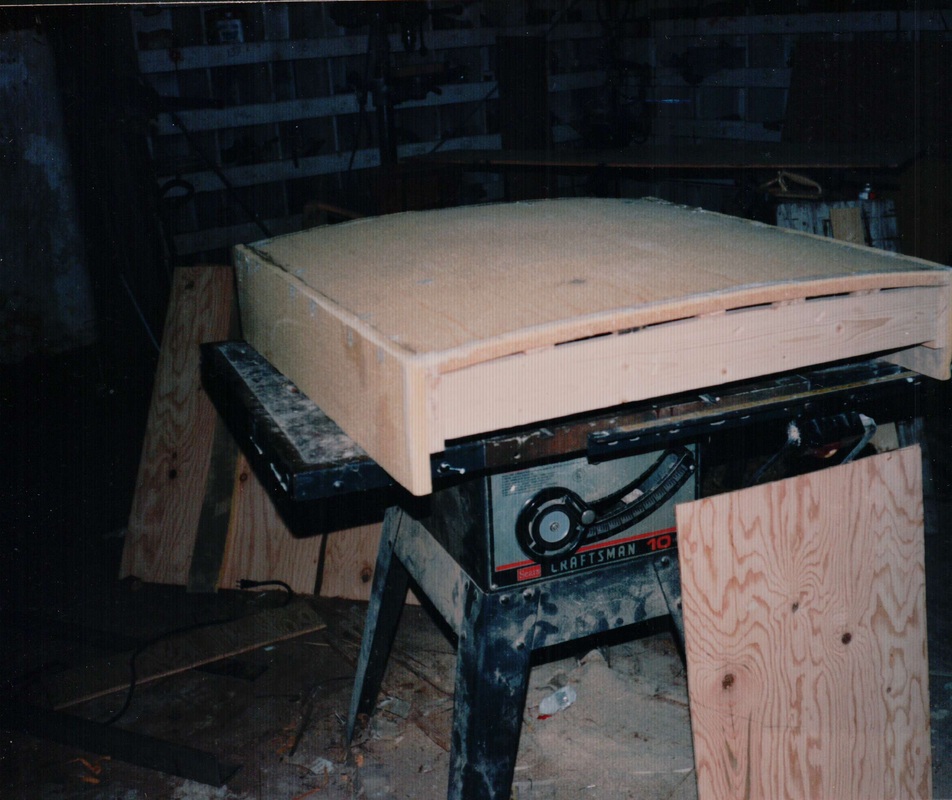
My Airex Foam hatch hood on my jig,ready to be faired and glassed.
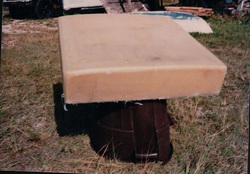
Hatch hood ready for fairing and installation when the pilot house is finished being glassed.
Everything glassed,faired and painted for protection of the epoxy from the Sun .
|