" Building the Boat's Frame's and Mounting Them on the Strong Back "
|
|
|
Now I am getting to the point were the boat was beginning to take shape.I could see it as I was putting the frames together,but first I need to get back to the plans .The plans I used came with a Table of Offsets and also templates. I think most designers include templates along with the Table of Offset's and here's where I got in trouble,I decided to loft the boat out from the lines sheet (table of offset's) because I was familiar with this type of lines development. So I had five of the biggest one"s cut out and put to together and they just did not look right,a quick call to the designer revealed my suspicions, they were not a corrected set of offsets as the corrections were on the template's. Hopefully who ever you get your plans from will be accommodating enough as mine was ( Bruce Roberts ) to explain to me a fact about the paper templates was the best way to go. You can get to Bruce's site here: Bruce Roberts Design. Also they need to be laid out all at one time in the same humidity as can be,because the templates will grow on different days or shrink because of moisture. Well I laid them all out except for the third station from the stern and laid it out the next day, when I had them all mounted , that one frame had to be shimmed out 3/4" of an inch. The templates also have a series of water lines on them that have to be transferred on to your frames as this helps you line the frames up level them up with either a transit level or the good ole water level in a clear tubing that is very accurate . Also take care to keep the center line mark true,because this is lined up to the C/L on the strong back,that hopefully is put together with care, because a little off here and and a little off there adds up to a bunch. Of course all the measurements are laid out in the strong back plans. If you will look at the frames in the pic at the top (photo #1) of this article you can see that I put the frames together with some scrap 3/4 inch plywood,and I used a lot of #12 screws to hold the frames together,also I braced them with 1"x2"'s (photo #4) so they would hold their shape. So once you have them all put together it's time to mount them to your strong back. I started with the first and worked my way to the last frame to mount them. I ran a C/L from the front of the strong back to the back of the strong back so the frames can be lined up on this line. I used small turnbuckles and piano wire for my center line mounted on the strong back. A good brass plumb bob is the way to line the frames up on the C/L. I had to level the water line's up and checking that the center lines were still on the money going back and forth until the frame was mounted right. Some shimming was needed for the leveling part. I also ran string lines perpendicular to the center line at every station ( a station is the divisions where the frames should be mounted) so I could measure off them to also keep the frames square with each other.
" ©2015-17 shipshapetipsboatbuildingandrepairs.com “All Rights Reserved”
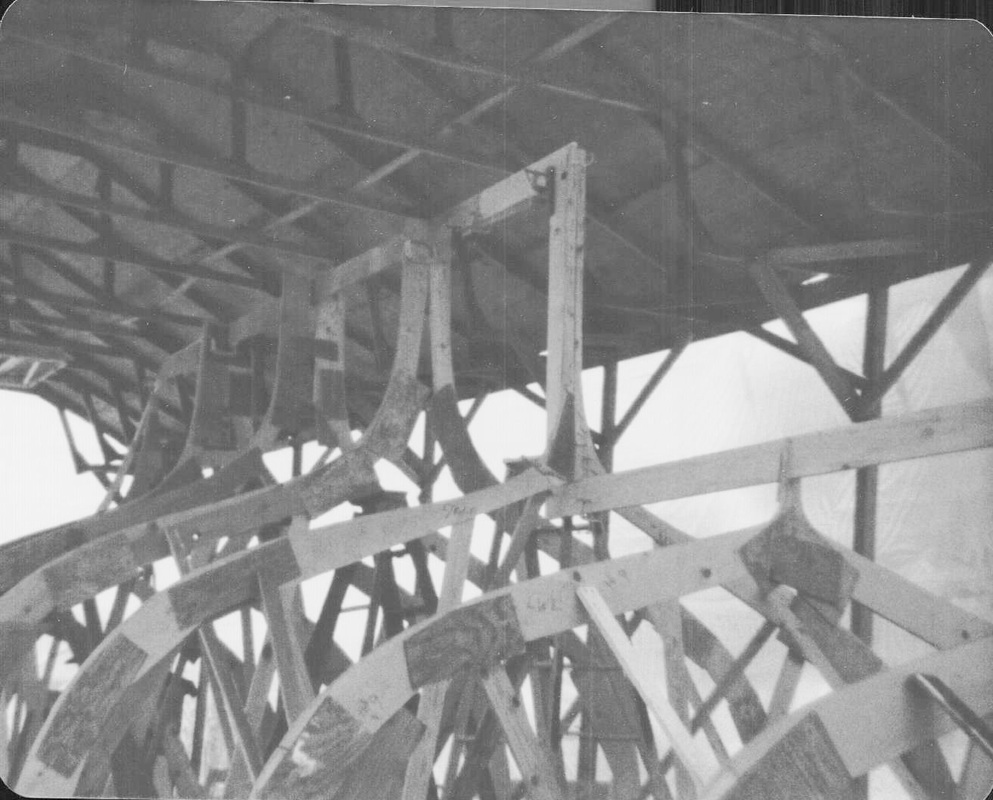
PHOTO #5 IN THIS PHOTO YOU HAVE A CLEAR VIEW OF THE PROFILE RUNNING BACK TO THE SKEG WERE IT END'S
|
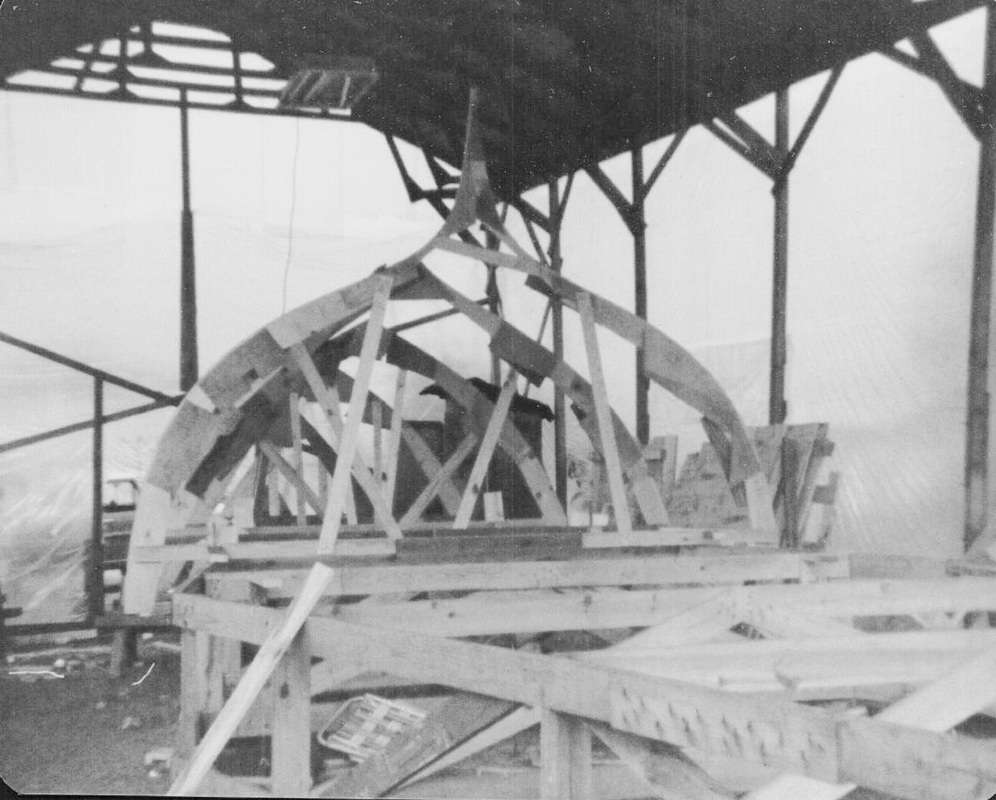
The way I fastened the frames was I mounted them on the top stringers of the strong back. (see photo #3) I shimmed and screwed the head stock (this is the 2"x4" 's that are fastened across in between the top's of the frames) to the stringers with long skinny lag bolts and also plumbed up the frames with some 1x4 planks that can be seen in photo #4 The next pic below (photo #2) show's a little more detail of were the headstock mounts. The next step was to cut the profile out from the template's ,you can see them running from fore to aft and are mounted on the bottom of the frames. Photo#6 The profile fits in a notch in each frame.

PG # 1 YOU CAN SEE THE SCRAP PLYWOOD CUT TO FIT TO THE FRAMES TO PUT THEM TOGETHER
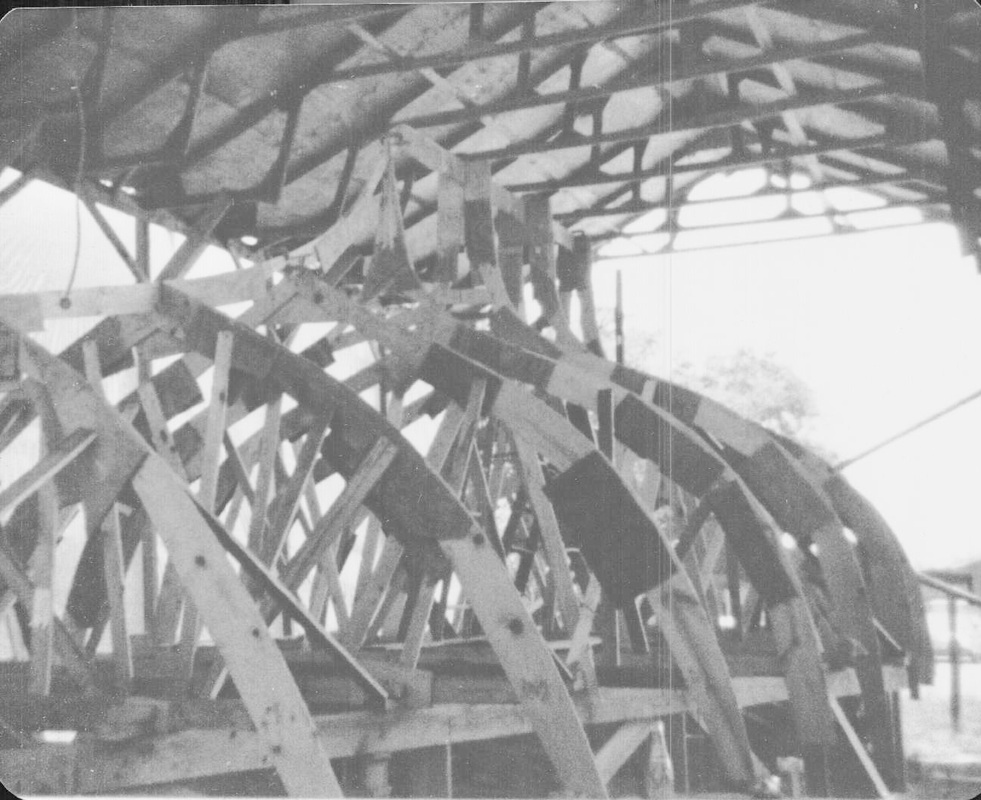
PHOTO #2 THE 1X4'S ARE RUNNING DIAGONALLY FROM THE STRONG BACK STRINGER TO THE FRAME. THE FRAMES WERE CUT FROM #2 PINE 1X10'
pic 4 USE 1X4'S TO KEEP THE FRAMES PLUMB
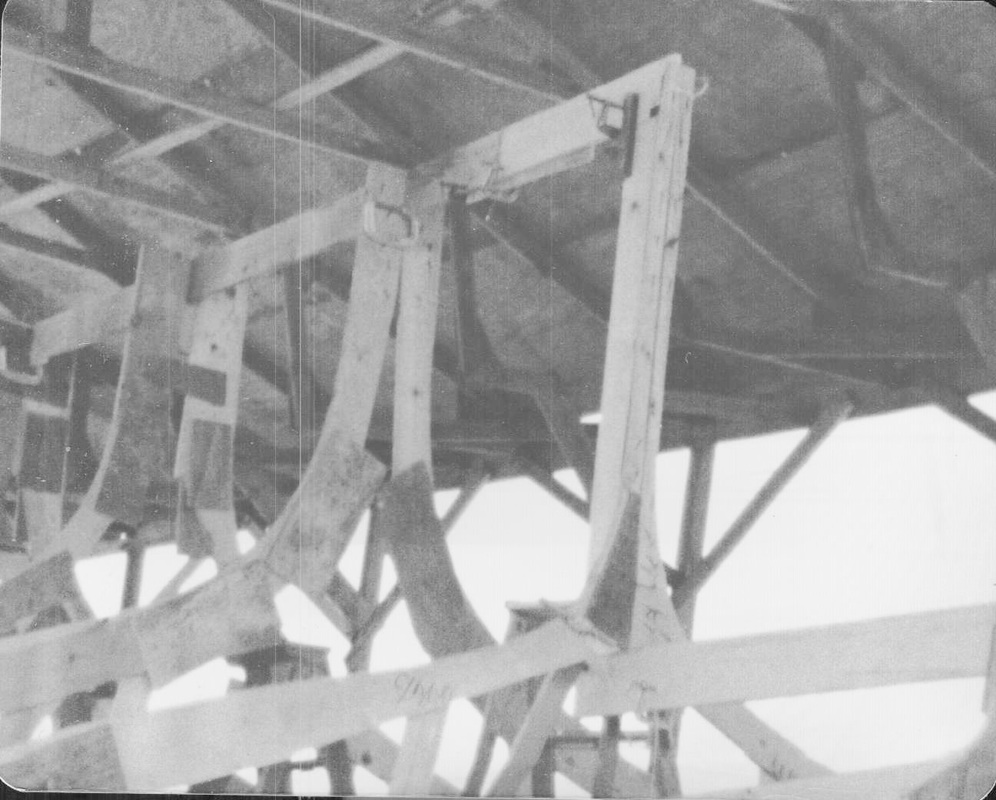
PHOTO #6 HEAR YOU CAN SEE WERE THE PROFILE IS INSERTED INTO THE FRAMES NOTCH AND FASTENED .
|