"Building the Boat Transom and Installing the Rib Band's"
|

PIC #1 STUDY HOW THE TRANSOM MOLD IS ATTACHED TO THE FRAMES

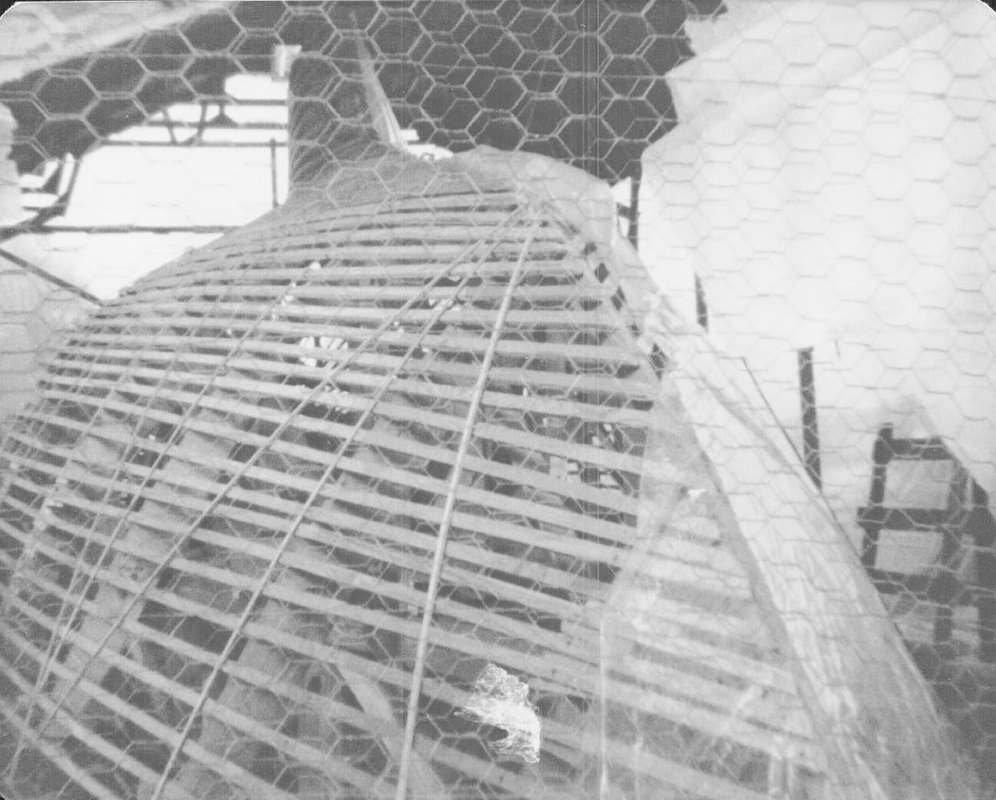
PHOTO #2 YOU CAN SEE THE VERTICAL RIB BANDS THAT ARE SCREWED TO THE RADIUS BOARDS.
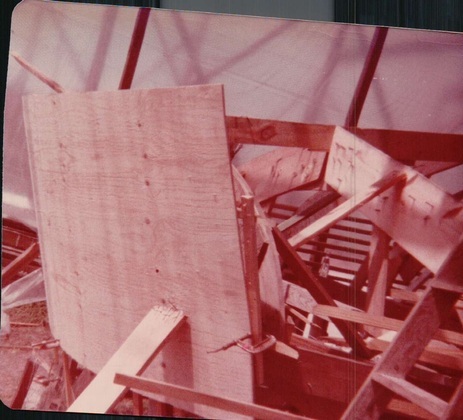
Photo #3 YOU MAY HAVE TO USE SOME PERSUADER BOARDS AS IN THE PIC SO YOU CAN FASTEN THEM TO THOSE RIB BANDS.
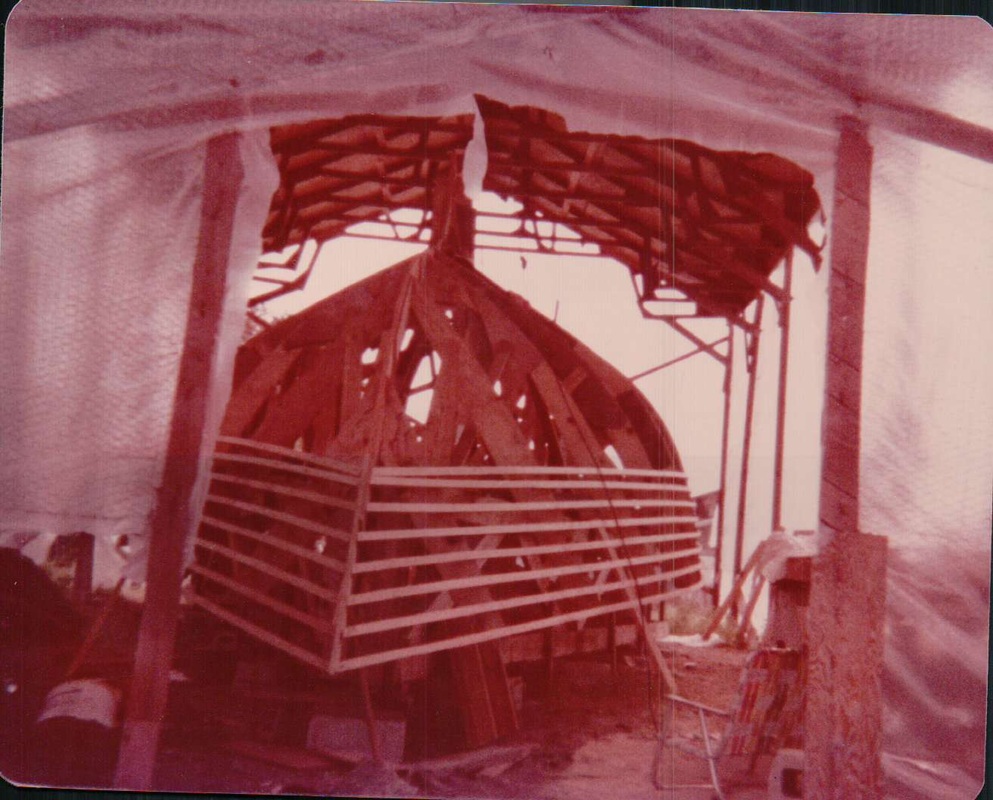
PIC #4 NOTICE HOW THE RIB BANDS ARE INSTALLED FROM THE GUNNEL TO THE KEEL,PROGRESSING EVENLY ON PORT AND STARBOARD
PIC # 5 CHECKING THE HULL FOR FAIRNESS WITH WOODEN BATTENS
|